The distinction between MIDI velocity and volume can be elusive for those just starting their creative journey in computer music. This article will provide some clarity on the subject and describe some creative uses of velocity in synthesis and sampling.
WHAT IS MIDI VELOCITY?
Velocity is a MIDI value generated along with note values when a MIDI instrument is used. This could be a keyboard, drum pad, MIDI guitar, wind controller, etc. When a note is played a Note On message is generated with a pair of values that range from 0 – 127. So for instance, a note event could be (60 100), which would instruct the MIDI device or software instrument to play a C3 note (or middle C) at a velocity of 100. (C4 is also sometimes used as middle C depending on the settings in your DAW). A channel number could be part of the message as well.
Note On messages like (60 100) are then followed by Note Off messages which include the same note number with a velocity of 0. That message would be (60 0). A velocity of 0 has the effect of stopping the note and is usually tied to the release of a key.
The intensity of the velocity is tied to how hard the MIDI key, pad, or other MIDI trigger device is struck. Some keyboards have velocity sensitivity settings that can be configured based on user preferences and playability.
HOW IS MIDI VELOCITY DIFFERENT FROM VOLUME
Volume refers to the gain or level of a sound. In a DAW it is controlled with track sliders, plugins that alter the dynamics or gain stage of a signal, or the amplifier stage of a virtual or hardware instrument. It is often linked to velocity so the higher the velocity the higher the volume level and vice versa. This is usually the case with acoustic instruments, but in the context of MIDI and computer-based music production, volume and velocity can be completely independent values.
Let’s consider the recording of a snare drum. If you record a light tap on a snare drum, that would be considered a low-velocity event. If you were to record that event and then raise the level or gain in a DAW up to say 0dBFS, you would have, in essence, a loud tap. Now if you take the same snare drum and record a loud strike, you would have a high-velocity event along with volume. Although the loud tap and hard hit might have the same volume or gain level, the two events would sound quite different because they were produced with different velocities.
Here are three snare hits at three different velocity levels (30-75-127)
Here are the same three snare sounds normalized to the same volume level. Note the difference in timbre while the volume is the same.
Depending on the instrument and method of sound activation, the harmonic content generated above the fundamental pitch varies based on the velocity level.
With physical instruments velocity and volume are linked but these elements can be easily decoupled once the sounds are recorded and processed for creative effect. With electronic instruments or MIDI controllers that generate velocity values, velocity and volume are inherently independent variables, and velocity can be manipulated or used as a data stream unrelated to the concept of velocity or volume in an acoustic sense.
MULTI-VELOCITY SAMPLING INSTRUMENTS
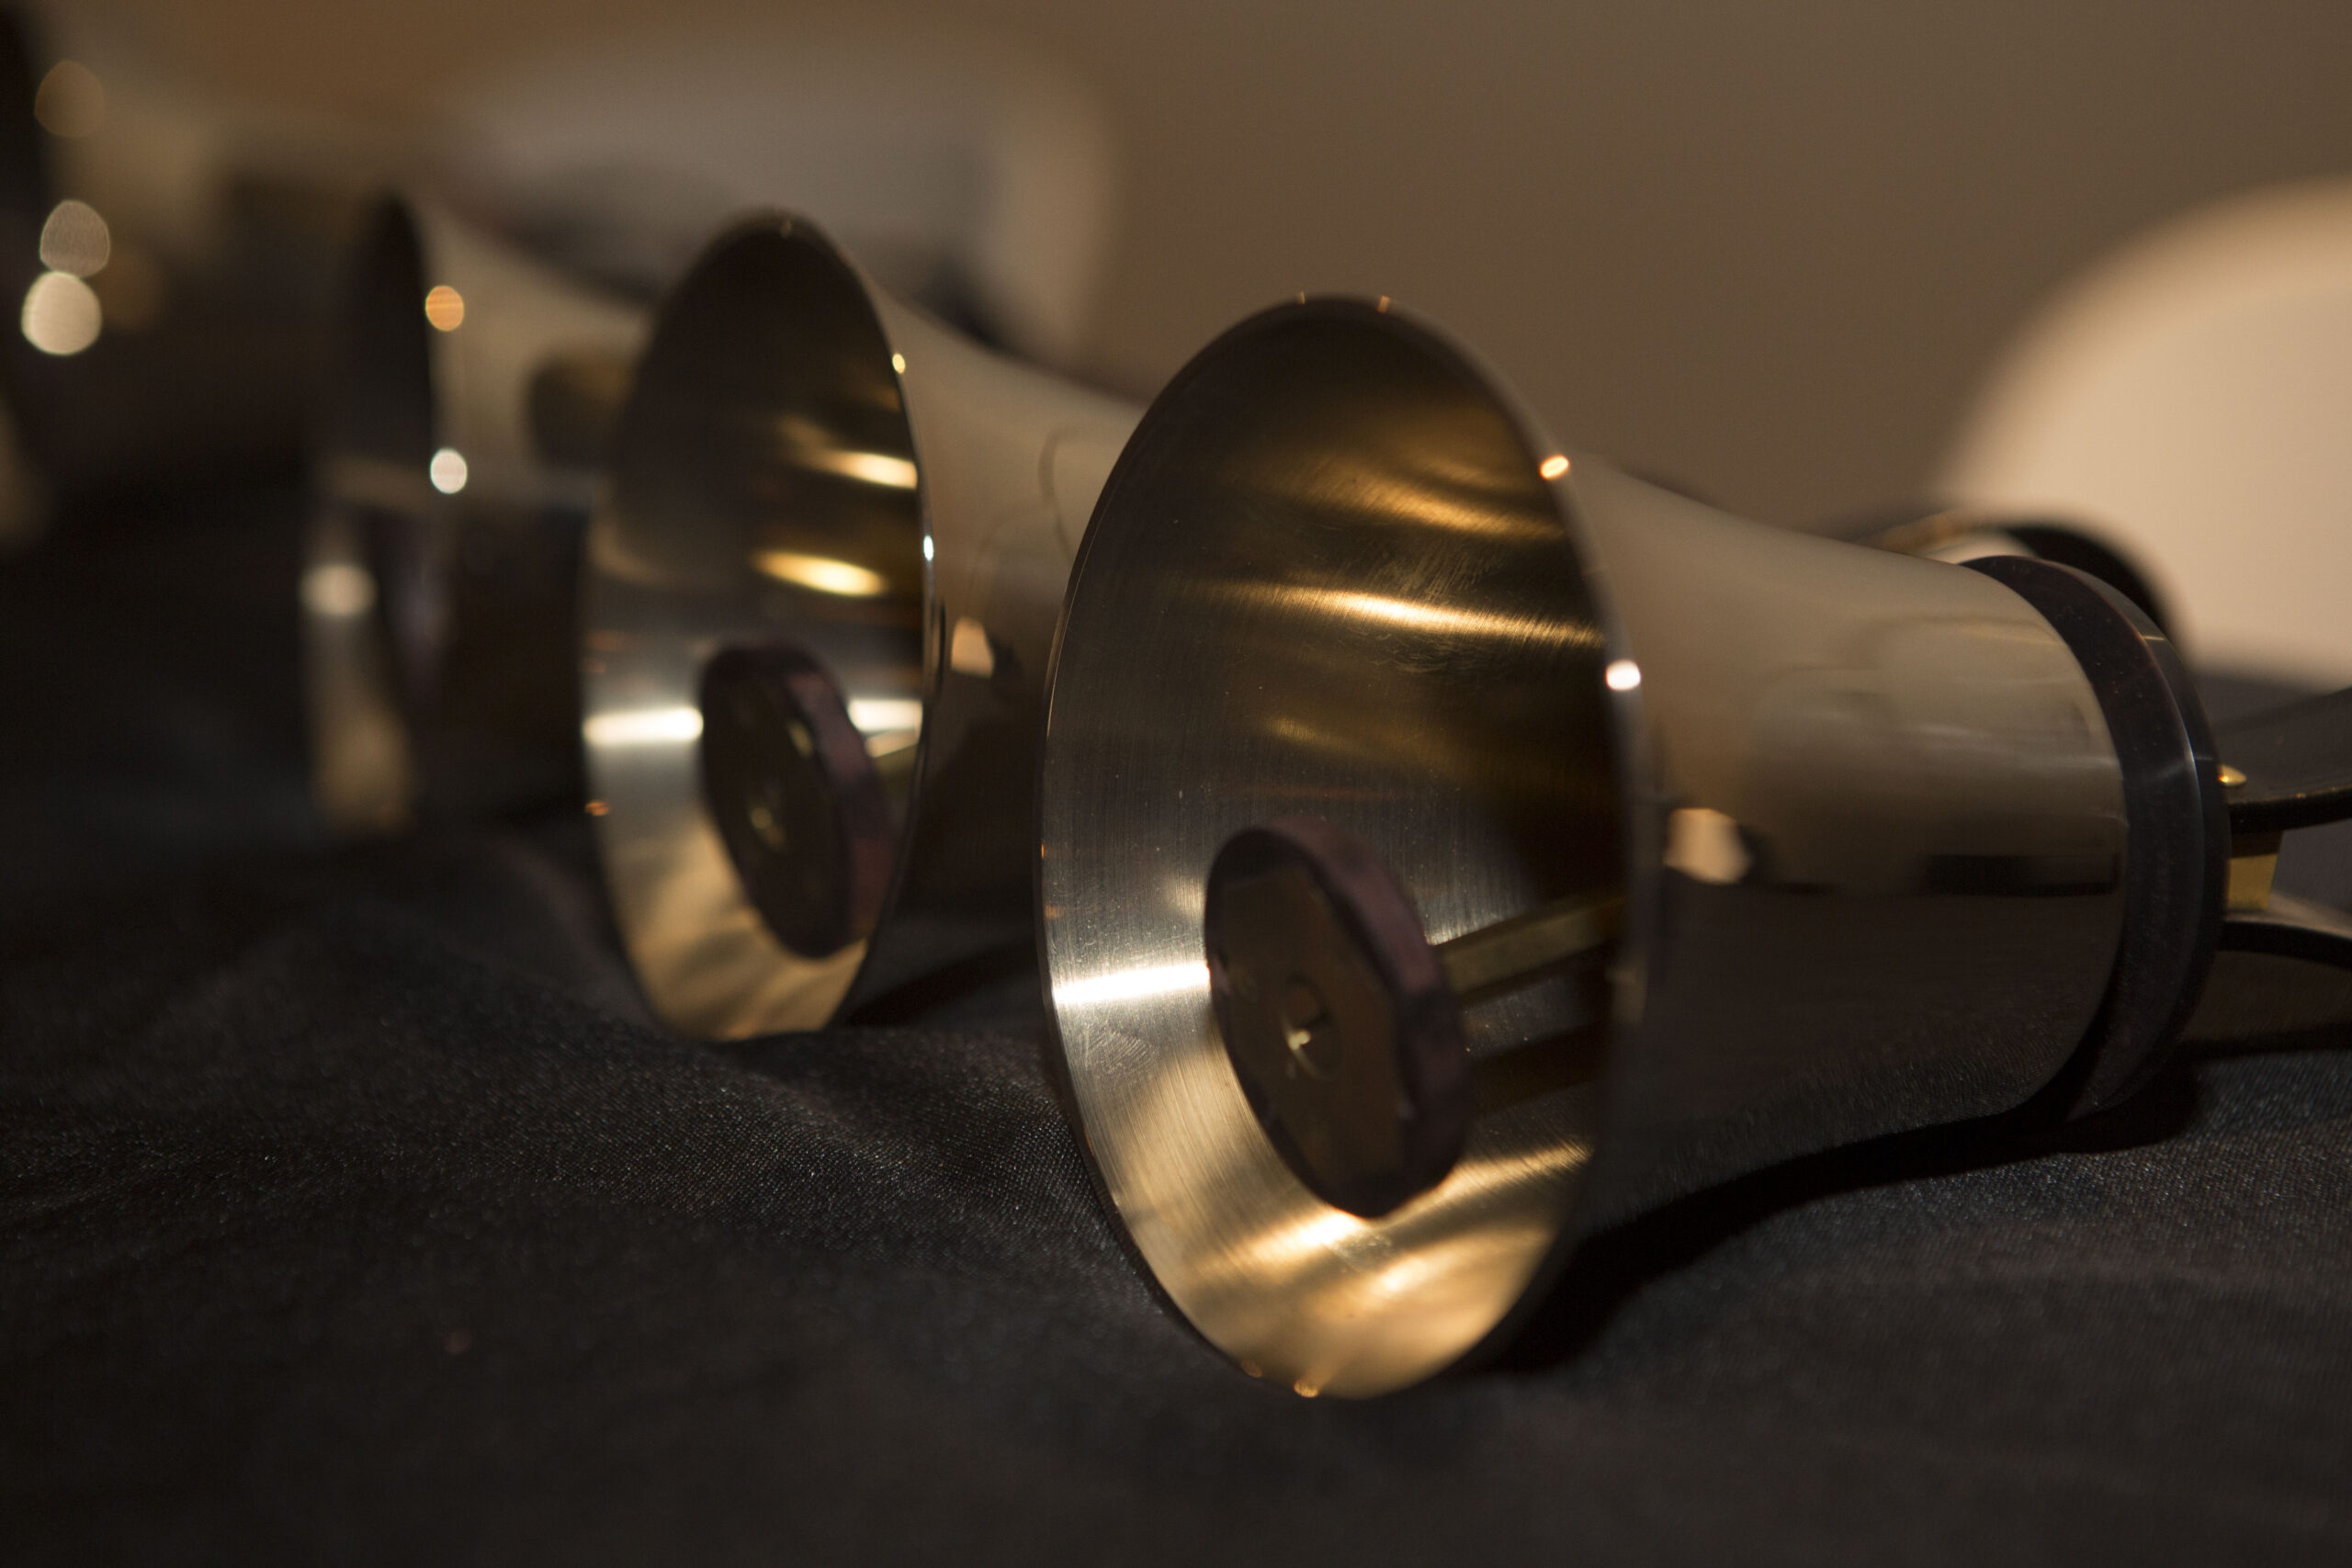
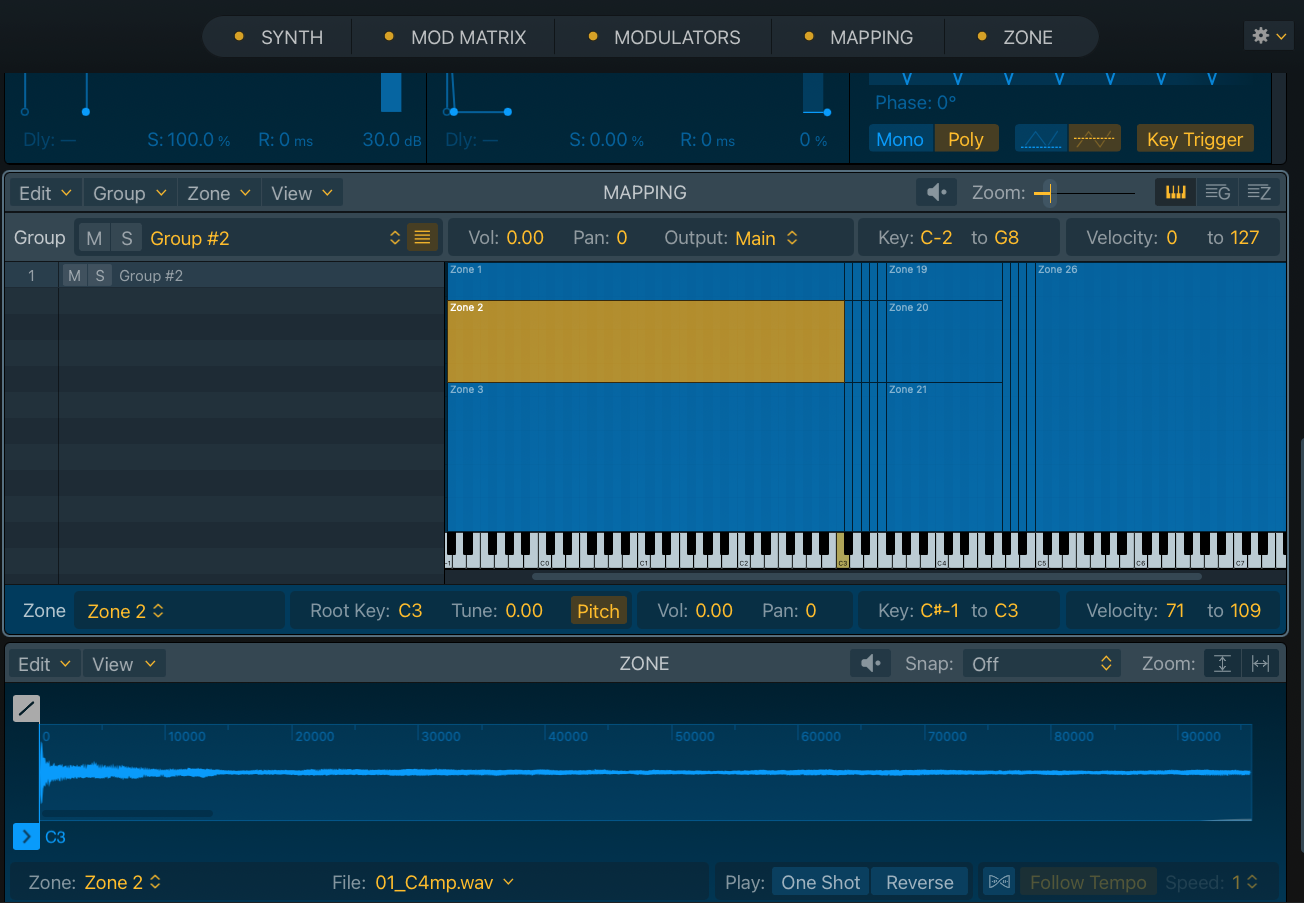
Some sampling instruments intended to emulate real acoustic instruments use multiple samples tied to velocity for the same pitch. For example, a sampling instrument might activate one of several samples based on programmed velocity ranges. Below is a screenshot of a Handbell sampling instrument. The samples were recorded using three different settings for the variable striker settings on the handbells (soft, medium, hard). Each bell was sampled using all three methods. Then the samples were mapped in terms of three velocity ranges:
- 0 – 70 (soft)
- 71 – 109 (medium)
- 110 – 127 (hard)
In this way, the velocity triggers a sample that corresponds to both volume and timbre to create a natural playing situation. Most acoustic-based sampling libraries will use velocity to trigger specific samples in this way. But as mentioned, velocity need not be tied to volume. There’s no reason you couldn’t map completely unrelated samples to different velocity ranges.
A velocity buildup with sampling instruments is a useful way to generate a natural-sounding crescendo. This has a very different effect from simply automating volume and is much more realistic. Of course, the instrument has to have multi-velocity sensitivity to begin with. Here is a drum part that uses a velocity build-up.
Randomizing velocity within a specific range can have a humanizing effect when applied to a HH for instance. Here, velocity is once again tied to volume, so that variations can be used to emulate a real person’s playing style. This creates a more natural feel as opposed to a robotic sound. Compare the difference below:
HH with constant velocity (100)
HH with random velocity (75-90)
HH with random velocity (40-127)
Velocity can also be used to create accents and rhythmic content from an otherwise static line.
HH with accented velocity for rhythmic effect
VELOCITY AS A MODULATION SOURCE
Since velocity is simply a numerical value it can be used to modify or modulate any of the parameters of a synthesizer in any way you see fit. For example, below is an example of an arpeggiated synth line in which velocity is randomized. Velocity is used to modulate the cut-off parameter of a lowpass filter in a subtractive synth by altering the intensity of a modulation envelope. As velocity increases the filter opens and vice versa. In the comparison below, [A] has no velocity effect and [B] uses random velocity values to modify the intensity of an envelope modulating the cut-off frequency of a lowpass filter.
Velocity can be applied to literally anything in the signal path if the synth allows for it. Here’s the same line where velocity is being used to alter the pitch of an instrument.
GENERATING VELOCITY VALUES
Velocity values can be generated in real-time by a player activating a MIDI-capable device like a keyboard or drum pad. Instruments could be programmed to generate random velocities within a range with every note on message.
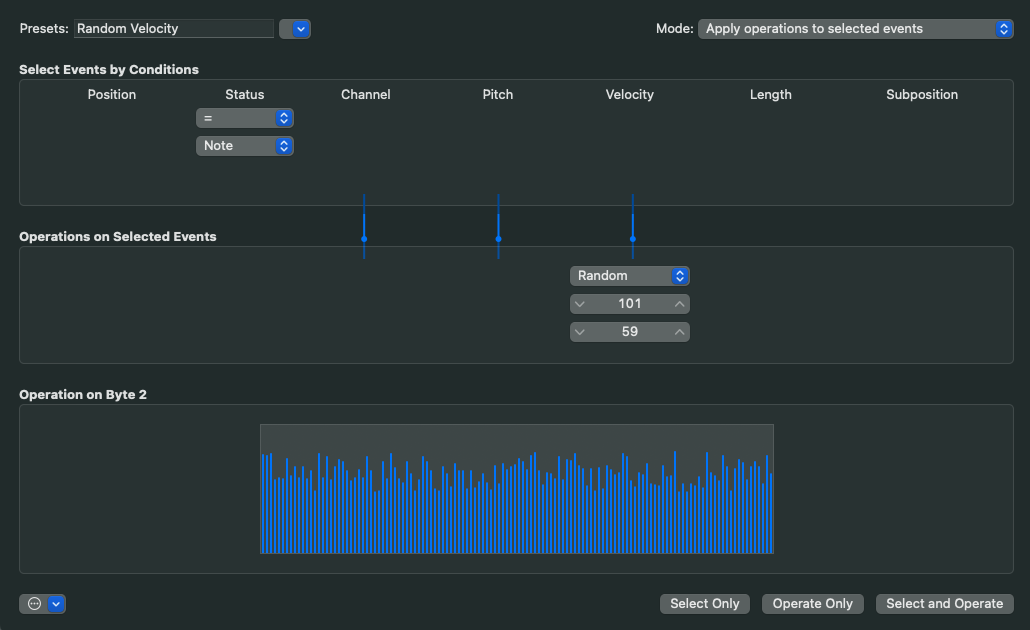
Once a series of note/velocity pairings are recorded, velocity can be altered in any way you choose. You can create velocity build-ups as mentioned above, draw in velocity values in your DAW using a pencil tool, apply random value generators to velocity, or edit velocity values at the note-by-note level. Below is a pic of Logic Pro’s austere-looking but super-powerful MIDI Transform Function.
MIDI 2.0 IMPROVEMENTS
With the advent of the MIDI 2.0 spec, velocity will have 16 16-bit resolution. This will require hardware and software developers to create instruments and applications capable of handling the improvements. One of the effects of this higher resolution will be finer gradations and a more “analog-like” sound. Below is a comparison of the number of possible values in the traditional 7-bit velocity spectrum and the new velocity resolution of MIDI 2.0:
- 7-bit velocity = 27 = 128 possible values (0-127)
- 16-bit velocity = 216 = 65,536 possible values (0 – 65,535)
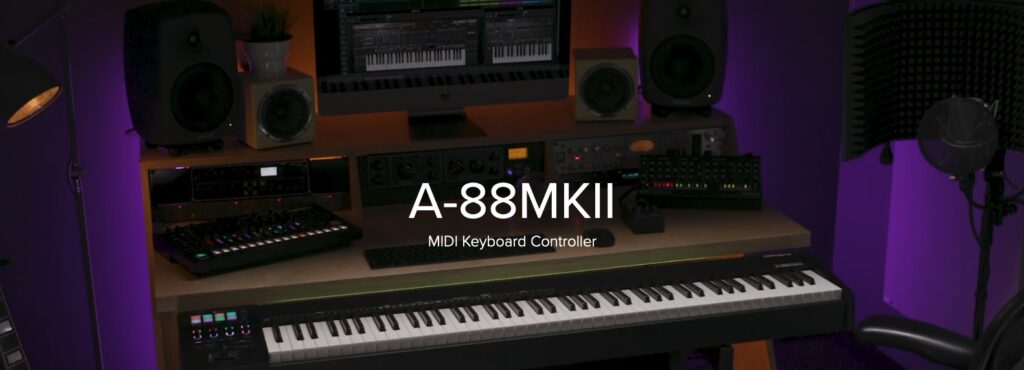
It will take some time for controllers and software to take full advantage of this new capability but it is something to look forward to. Recently, Roland announced a free MIDI 2.0 update for its A-88MKII MIDI Keyboard Controller. According to Roland, “Pianos will perfectly reflect the most subtle keyboard playing techniques, orchestral sounds will be more acoustic and lifelike, and synthesizer textures will respond to performance gestures like never before.”
Other new MIDI 2.0 capable devices include:
This is certainly just the tip of the iceberg when it comes to MIDI 2.0 and things will only get better.
CONCLUSIONS
Variations in velocity is one of the most effective ways to make content sound musical. It can be tied to volume to emulate real-world sounds or used as a modulation source for any parameter in your signal path.
EXTRAS
Pro Members – Download the Handbell Sampler Instrument used in the example above on the Pro Member Resource page.
Test your knowledge with the Velocity IQ test.
Not a Pro Member yet? Check the Member Benefits page for details. There are FREE, paid, and educational options.


