reverb-controls-explained-cover

10 Basic Reverb Controls Explained – Improve the Space, Width, and Depth of Your Productions With These Tips (+ Audio Examples)

ArticlesMixingProducing
If you’re looking for the basic reverb controls explained, look no further. Reverberation, or reverb for short, is one of the most important effects for an audio engineer. Whether you’re creating music, working in post-production, doing audio for gaming, podcasting, etc. Reverb can help place your tracks in a sense of space, whether it be natural or otherworldly. Applied incorrectly, reverb can leave your tracks sounding muddy and cluttered. Understanding the many different parameters is essential for getting the most out of the reverb effect. So let’s get into it.

Decay Time

Decay Time, also known as reverb time or tail, is the duration it takes for the reverb to fade away. In a music mix, you can use a longer decay time to create a larger and more spacious sound, reminiscent of a concert hall or cathedral, which is perfect for ambient tracks or ballads. Conversely, a shorter decay time results in a tighter and more intimate ambiance, suitable for fast-paced genres like pop or rock, where clarity and punch are essential.
Mix Insight: Some modern reverb plugins will have a “Freeze’ function, which allows for (hypothetically) never ending reverb tails. This can be fun for creating  dramatic ambience effects.

ableton-hybrid-reverbAbleton Hybrid Reverb, note the ‘Freeze’ control near the middle which is great for long-lasting ambient effects

Pre-Delay

Pre-Delay is the delay between the original sound and the onset of the reverb effect. For a more immediate connection between the sound and its reverb, use shorter pre-delay times to suggest a smaller, more intimate environment where reflections bounce back quickly. This is ideal for close-miked vocals or instruments that simply need to get set back in the mix a bit. Longer pre-delay times create a sense of a larger space by delaying the onset of the reverb, which works well for orchestral mixes or background elements that need to feel distant yet present.
Mix Insight: Time your pre-delay to the BPM of the song. Experiment so that the pre-delay slaps back not unlike a delay effect.

In this audio example, listen to a drum pattern: Version A is with 0ms pre-delay, Version B is with an 88ms pre-delay. The second example should sound as if there is a subtle slap-back of reverb.

Size

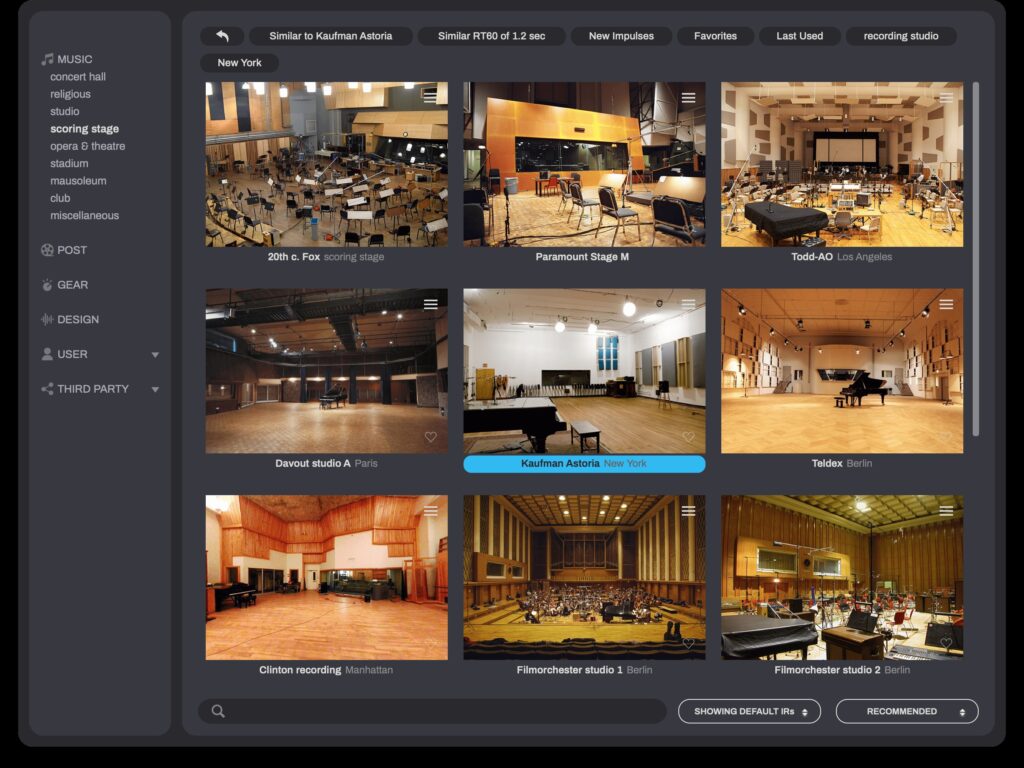
The Size parameter adjusts the perceived size of the virtual space created by the reverb. Larger sizes result in expansive reverberations, adding a grand feel to drums, orchestras, or ambient pads. Smaller sizes offer a more confined sound characteristic of smaller rooms, suitable for intimate acoustic guitar or vocal recordings where you want to retain a sense of closeness and detail.

altiverb-gui

The GUI for Alitverb by Audio Ease, which allows you to choose from a wide variety of spaces, both large and small.

Diffusion

Diffusion affects the dispersion of echoes in a reverb. Higher diffusion settings blend echoes smoothly, creating a uniform reverb tail, which is ideal for simulating the acoustics of expansive, acoustically treated spaces like concert halls. This can add a lush background to synth pads or choral arrangements. Low diffusion settings result in more discernible echoes, resembling smaller or more reflective spaces, such as stone chambers. This can be useful for adding a unique texture to percussive elements or special effects.

In this audio example, listen to a guitar strum: Version A is with no diffusion, Version B is with diffusion all the way up. The second example should sound more expansive and vibrant.

kleverb-screenshot

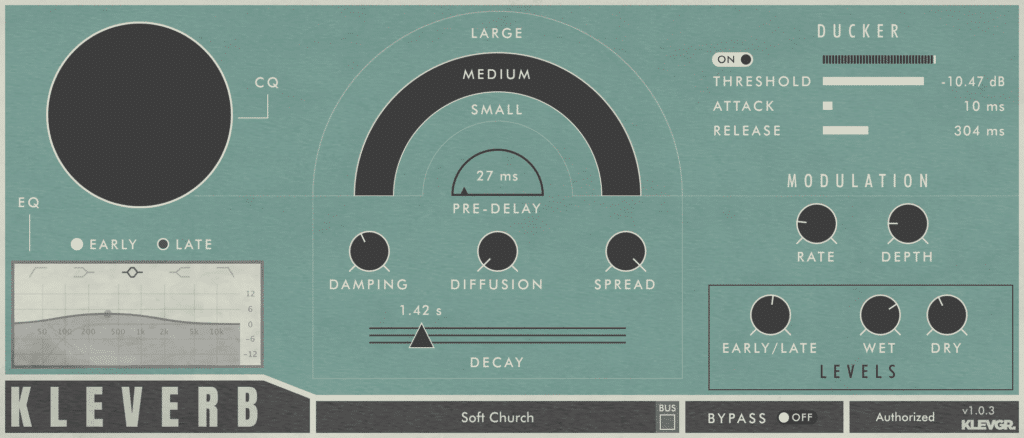
The vastly underrated KLEVERB by Klevgrand, which features a unique ‘ducker’ function.

Density

Density controls the concentration of echoes within the reverb decay. Higher density settings produce a thicker and more sustained reverb, perfect for creating a lush backdrop in ballads or cinematic scores. Lower density can add a sense of granularity and space between reflections, making it suitable for moments where a more natural and less polished sound is desired.

Damping (Dampen)

Damping, sometimes referred to as dampen, refers to how the high frequencies within the reverb decay over time. Adjusting damping allows you to simulate the natural absorption of sound. Less damping results in brighter reverb tails, adding sparkle to vocals or acoustic instruments. More damping produces a warmer and more muted reverb effect, which can help create a vintage or lo-fi aesthetic in the mix.
Mix Insight: Overly bright verbs on vocals are one of my pet peeves. Be sure that your reverb damping level is set correctly by listening to the sibilant parts of your vocal passages with the effect applied, and if the reverb rings out too much, tweak the damping level. Don’t be afraid to automate this parameter if need be.

walrus-fathom

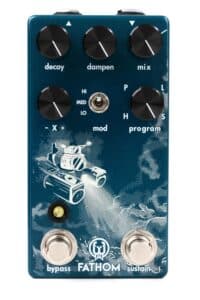
The Walrus Fathom, one of my favorite reverb pedals. Note the dampen knob in the middle which I use to tame the high frequencies of my tails.

EQ

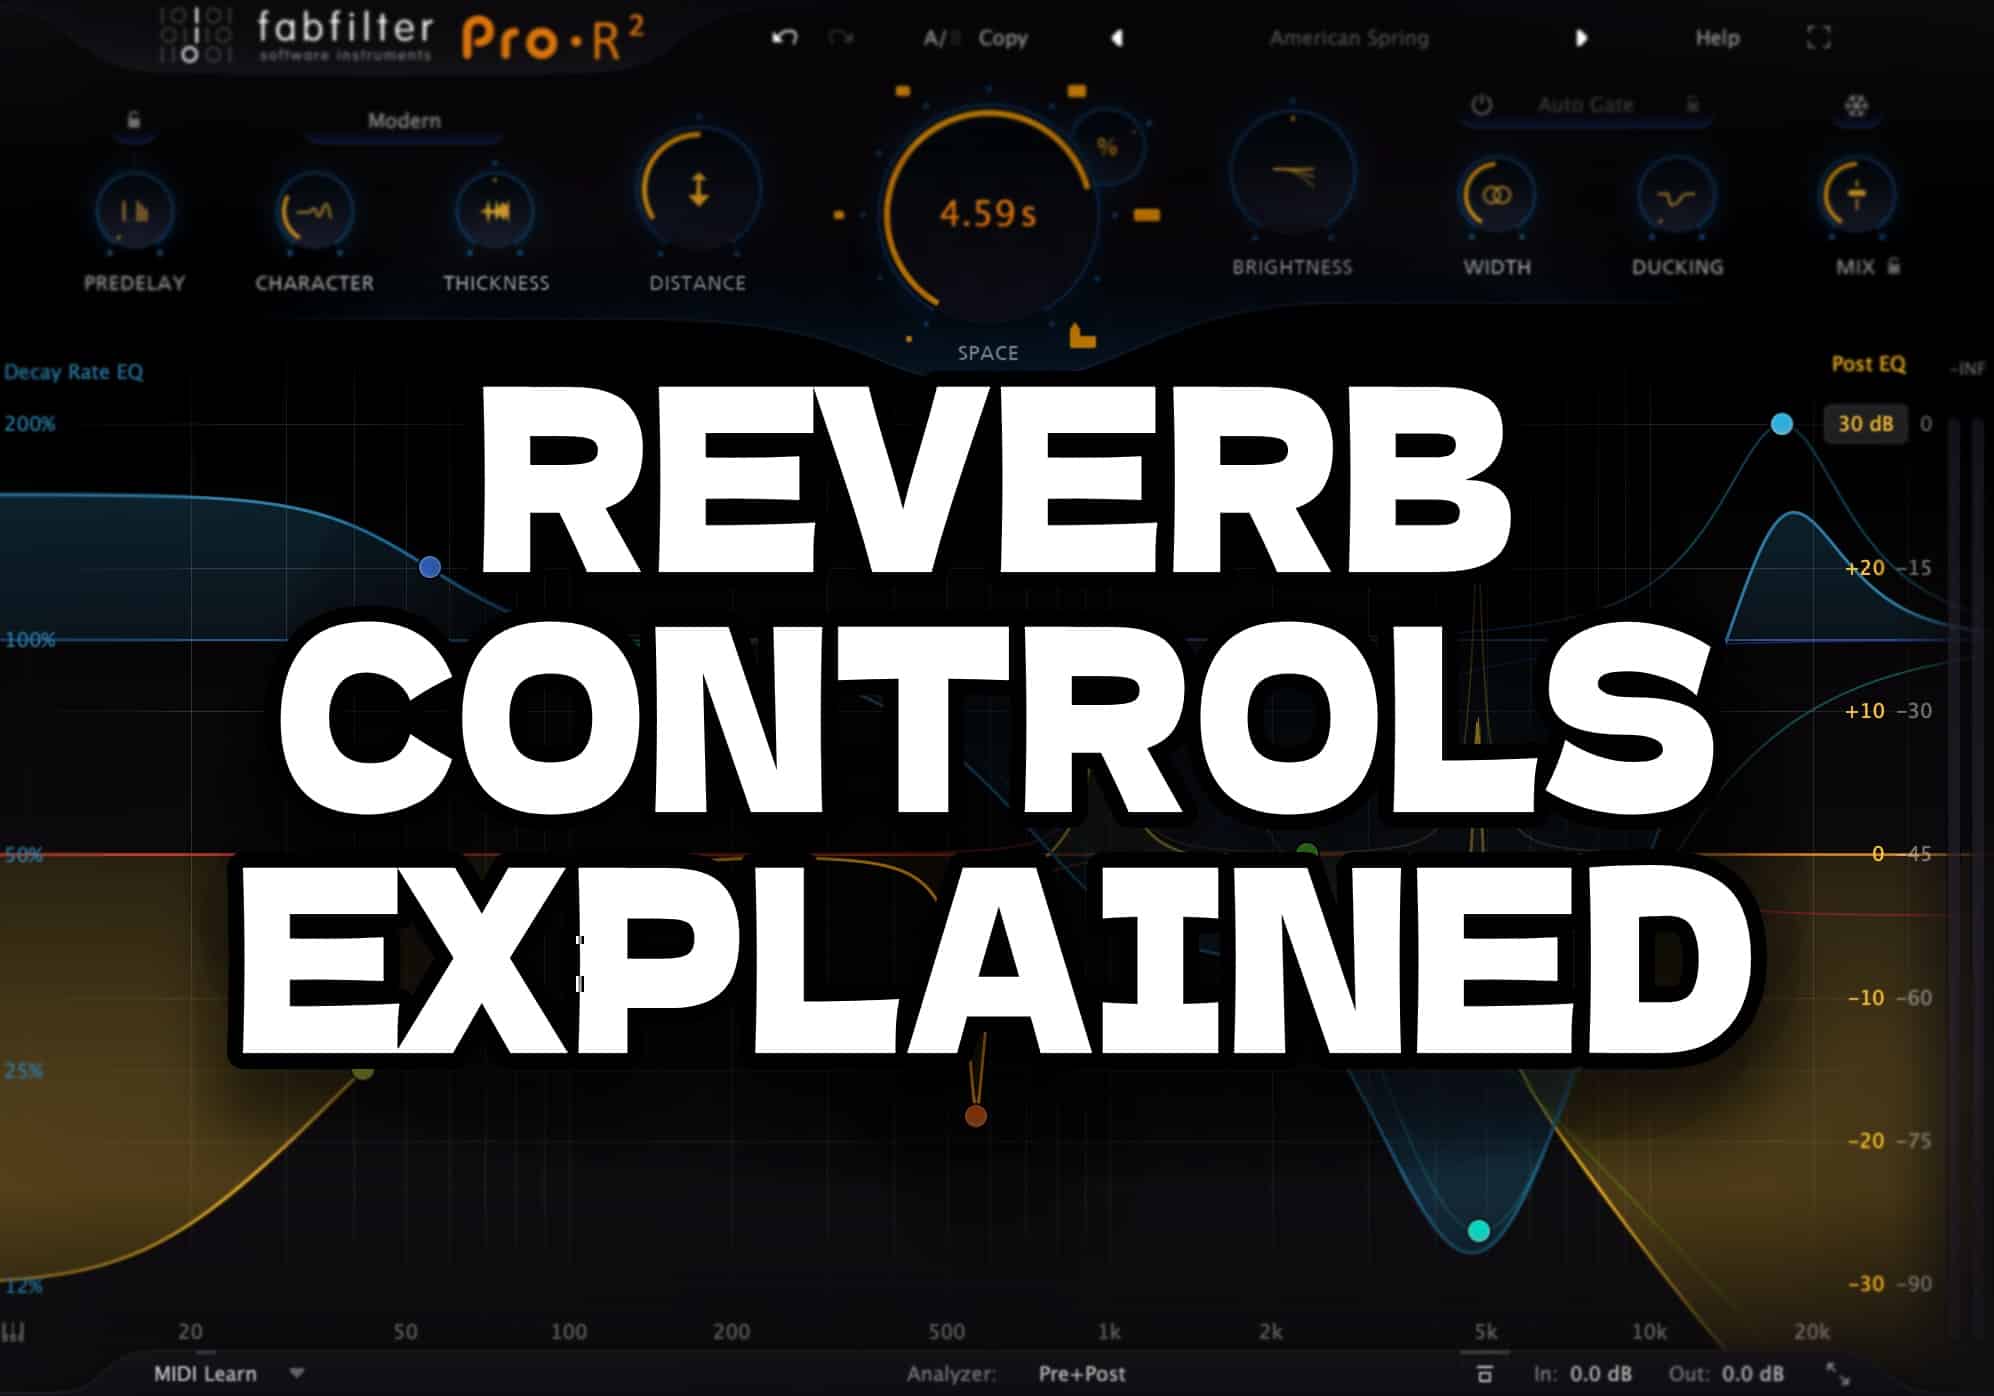
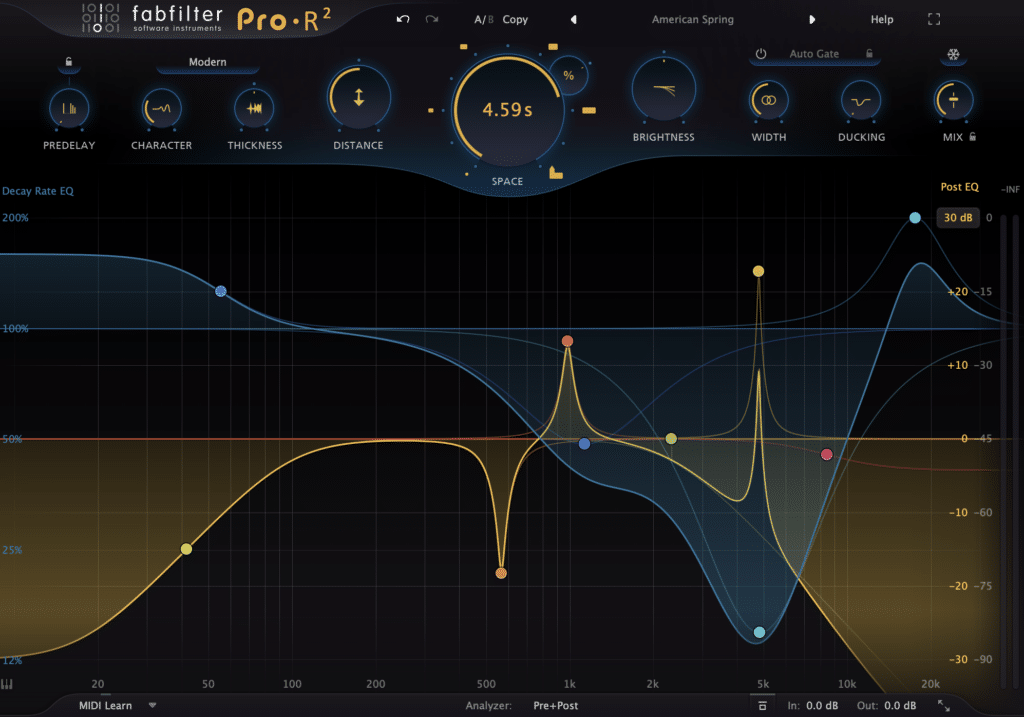
EQ within a reverb effect allows you to shape the frequencies of the reverb itself. Cutting low frequencies from the reverb can prevent muddiness in the mix, especially on bass-heavy instruments like kick drums or bass guitars. Boosting high frequencies can add airiness to the reverb, enhancing the presence of vocals or high-pitched instruments, while reducing them can avoid harshness and create a smoother, more blended reverb effect. The impressive Fabfilter Pro-R 2 (pictured beneath) features both a decay rate and post EQ, for extra flexibility when sculpting the tones of your reverb tails.

fabfilter-reverb

Spread

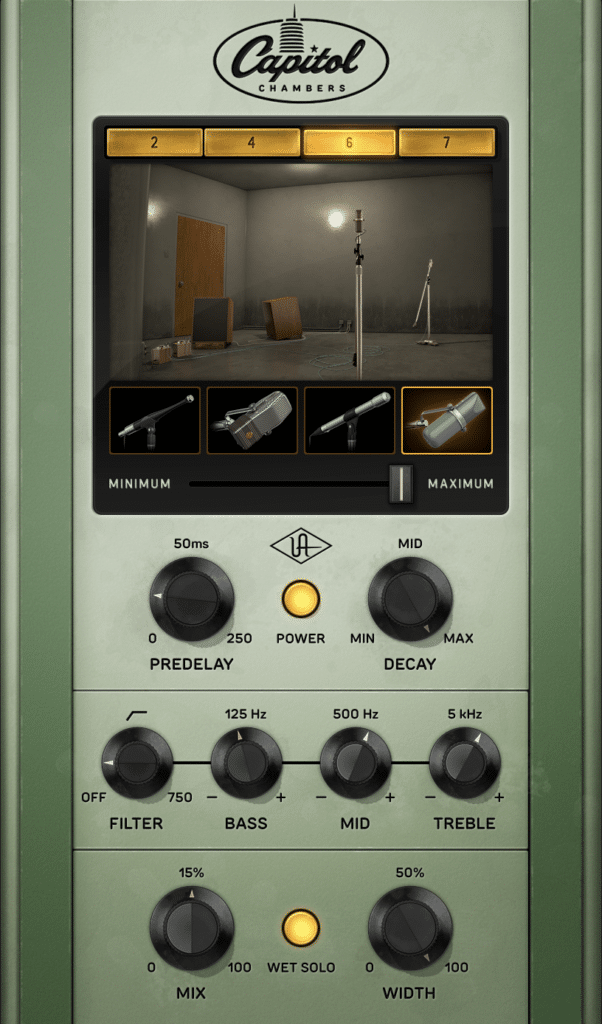
Spread, or stereo width, controls how wide the reverb appears in the stereo field. A wider spread can envelop the listener, creating an immersive experience ideal for ambient music or orchestral recordings. Narrowing the spread focuses the reverb more centrally, which can help maintain clarity and prevent the mix from becoming too diffuse, particularly useful in dense mixes where space is at a premium.
Mix Insight: Back in the day, stereo reverbs weren’t really a thing. So if you’re looking to add a retro flavor to a vocal (with perhaps a chamber) try using a mono reverb.

capitol-chambers

The UAD Capitol Chambers. Note the WIDTH knob at the bottom right, which I use to give a more vintage sound to tracks.

Modulation

Modulation within reverb adds variation to the pitch of the reverb tail, contributing to a more complex and lively sound. This can introduce subtle movement or shimmer, enhancing the overall richness of the effect. Modulation is particularly effective for creating a more organic or evolving reverb character, perfect for electronic music or adding a unique texture to pads and leads.
Mix Insight: If your reverb doesn’t have a modulation setting, simply place a chorus or another type of modulation effect as an insert directly after the reverb. 

little-plate-reverb

The simple and sweet Little Plate from Soundtoys, note the MOD switch for subtle modulation

In this audio example, listen to a trumpet with reverb: Version A is with no modulation, Version B is with a lot of modulation. The second example should sound as if there is a subtle chorusing effect on the reverb.

Wet/Dry Mix

The Wet/Dry Mix controls the balance between the unaffected ‘dry’ signal and the processed ‘wet’ reverb signal. A higher wet mix will make the sound more distant and reverberant, ideal for creating ambient soundscapes or adding depth to background elements. A higher dry mix maintains the presence and clarity of the original signal, which is crucial for lead vocals or instruments that need to cut through the mix.
In practice, adjusting these parameters allows you to tailor the reverb to fit the specific needs of each track in your mix, ensuring that the reverb complements the overall sound and enhances the listening experience.
Mix Insight: It’s advisable to use send/returns or auxiliary tracks to insert your reverbs on, with them set to 100% wet, as you can have independant control the volumes of both the send and return.

Reverb Controls Explained Summary

So there you have it. Hopefully this article has provided you a better understanding of the parameters of reverb plugins. Be mindful that technology is changing constantly, and you might find a control on a reverb not mentioned here. When in doubt, RTFM.