THE ORIGIN OF PARALLEL COMPRESSION (NEW YORK COMPRESSION)
Parallel compression involves blending an original, unprocessed signal, alongside a compressed version of that same signal. The benefit being that the natural dynamics of the source remain in tact, while also introducing the punch, weight, and tone of the compressed signal. In this article, I am going to discuss the origins of this powerful effect, as well as discuss how I might use it when mixing and provide audio examples. I should note that a solid understanding of the compression effect is required to fully unleash the power of parallel compression, so perhaps check out this article on compression controls explained before moving on.
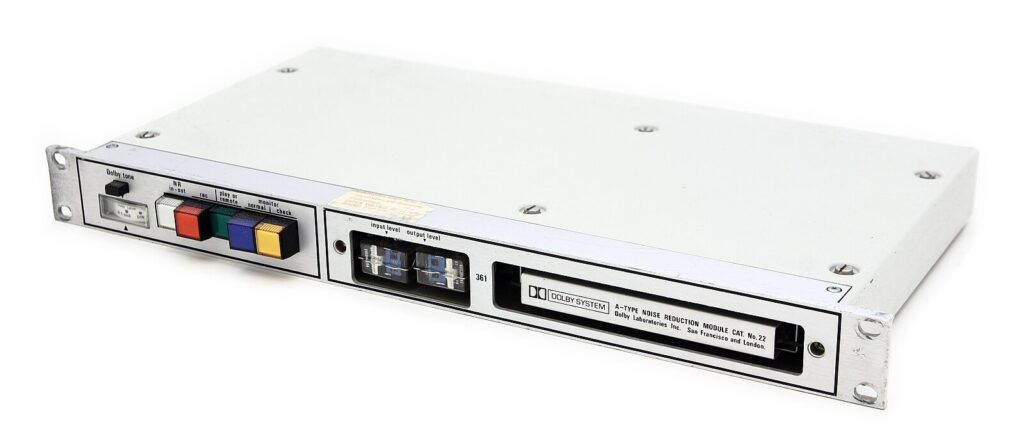
Parallel compression originated in the circuitry of Dolby A Noise Reduction, which was released in the mid 1960s. The system had parallel busses, one of which featured compression. The effect saw limited use through the decades, although it was applied by Lawrence Horn on plenty of Motown hit records. Parallel compression eventually became a staple in the analog studios of New York City during the 1990s, when the term “New York Compression” was coined. Producers and engineers in the Big Apple and beyond, working in genres like pop, rock, and early hip-hop, sought ways to make tracks sound fuller and more energetic through various playback systems. This method became popular for its ability to balance subtlety and power, a need born out of competitive radio environments and the growing popularity of highly dynamic music styles. It since has become a hallmark of modern production and mixing due to its ability to enhance both punch and clarity without compromising the dynamic range of a signal.
Motown’s Lawrence Horn, an early adopter of Parallel Compression
THE EFFECT IN PRACTICE
As I mentioned, parallel compression involves combining a compressed version of an audio signal is blended with the uncompressed, or lightly processed, version. The goal is to achieve a balance that maintains the natural dynamics of the original signal and adding the sustain and density provided by compression. This is accomplished by creating two signal paths, which can be set up easily in any DAW:
- Uncompressed Path: The original signal remains relatively untouched or lightly processed to retain natural dynamics.
- Compressed Path: A duplicate of the original signal, which can be achieved by either using sends/returns, or simply duplicating the track, is compressed, often with aggressive ratio and threshold settings, to emphasize sustain and presence.
These paths are then combined to taste, allowing for nuanced control of the overall dynamic character.
THE MIX CONTROL
Unlike reverbs and delays, many early plugin compressors didn’t come with a WET/DRY (mix) control, so it required going through the aforementioned step of setting up sends/returns to reap the benefits of parallel compression. Fortunately, plenty of newer plugins feature this control, allowing you to set up the effect with a simple twist of a (digital) knob. 100% WET represents the compressed effect only, DRY represents the original signal. Users can blend as they see fit. This is obviously a huge time saver. Be aware that you can still use the traditional way of using a buss to route a signal to a compressor with such a control, and in that case, you might want to set the WET blend at 100%.
The Universal Audio Empirical Labs Distressor Plugin. Note the MIX Control in the bottom right.
WHEN AND WHY TO USE PARALLEL COMPRESSION
Having taught music production, mixing, and mastering to thousands of students over the past 15 years, I can safely say that misusing compression is one of the most common mistakes that aspiring engineers make. Overusing the effect can lead to individual tracks, and entire mixes sounding flat, lifeless, thin, distorted and/or small. Because of this, I recommend to any new engineer to experiment with the WET/DRY blend of compression as to not overdo the effect.
If you enjoy the qualities of certain compressors: The transient shaping abilities of a Distressor, the pillowy warmth of a Fairchild, the aggression of an 1176, the harmonic content imparted by a Neve 33609, then you can apply them in parallel, will still maintaining the integrity of the unprocessed tracks. If it sounds better with the effect at 100%, by all means, compress away, but if you’re still learning compression and perhaps don’t have the best monitoring setup, you might want to strike a comfortable balance between the compressed and uncompressed paths.
More advanced engineers will know that achieving loudness is, for better and for worse, a part of the music production industry. Parallel compression on individual tracks, subgroups, and even the mix buss can increase loudness without destroying the natural dynamics of the program material.
HOW TO USE PARALLEL COMPRESSION ON CERTAIN TRACKS
DRUMS
Drums and Compression are often a delicious combination. Compression on drums can shape their dynamics, tone, sustain, and overall presence. When applied to individual drums, like a snare or kick, compression can emphasize the transients as long as you use the correct attack and release times, making the hits punchier and more defined. On a whole drum kit, compression can glue the elements together, creating cohesion and a polished sound. Used aggressively, compression can also enhance the room ambiance or add a sense of excitement and energy to the performance.
Overdone though, compression will literally squeeze the life out of drum performances. Therein lies the beauty of parallel compression, you can literally overdo it, using drastic ratios, faster attacks, and pushing hard into a compressor to the point of distortion, and simply dial back the blend. You may want to use more conservative settings depending on the needs of the song, but it’s definitely worth experimenting with more dramatic settings if only to hear how the envelope and tonality of the drums change.
In this audio example, listen to a Drum Beat: Version A is with no compression, Version B is with a lot of compression, Version C is a Blend.
Bass is another instrument that can greatly benefit from the compression effect, as the attack and release of the instrument are important to dial in to have it ’sit right’ alongside the rest of the arrangement. Important to consider though is that low frequencies can cause a compressor to go haywire a lot quicker than high frequencies. For this reason, some compressors have a LF (Low Frequency) Sidechain feature, which prevents an excess of LF content from flooding the compressor. Combined with this nifty feature, I use compression to shape the dynamics of the bass, and dial back the blend so that the fullness of the instrument isn’t compromised.
In this audio example, listen to a Bass: Version A is with no compression, Version B is with a lot of compression, Version C is a Blend.
VOCALS
The human voice is a wonderfully unique instrument. The tone, expressiveness, and dynamics of the voice are unmatched. That last quality, the dynamics, can cause the voice to be really difficult to get sitting correctly in the mix, especially with less trained singers. I pretty much always do a CLIP GAIN pass when mixing a song, ensuring that passages don’t poke out or end up buried relative the rest of the mix. Clip Gain is pre-compression, and this ensures that the vocal triggers the compressor somewhat evenly throughout the song. Once this is done, I use compression to add any number of characteristics to a vocal. Compressors can add tone, attitude, pull a vocal forward in the mix, and much more. However, they can make vocals sound unnatural, can make sibilant passages sound harsher, can emphasize unwanted mouth noises, and more. To reap the rewards without elevating problems, I use parallel compression to shape the dynamics and tonality, and scale back the wet blend to allow the original to shine through.
Honestly, I love compression on vocals so much, that I might send a lightly processed vocal to multiple of aux tracks, and then use a variety of compressors to bring out different qualities. Maybe in the chorus I want a heavily compressed vocal to assist in bringing the voice over a dense arrangement, perhaps in the bridge I want a completely smashed vocal as a special effect. All of this and more is possible with compression, and by blending in parallel, you can maintain the integrity of the original signal while harnessing the benefits of the compression effect.
GUITAR
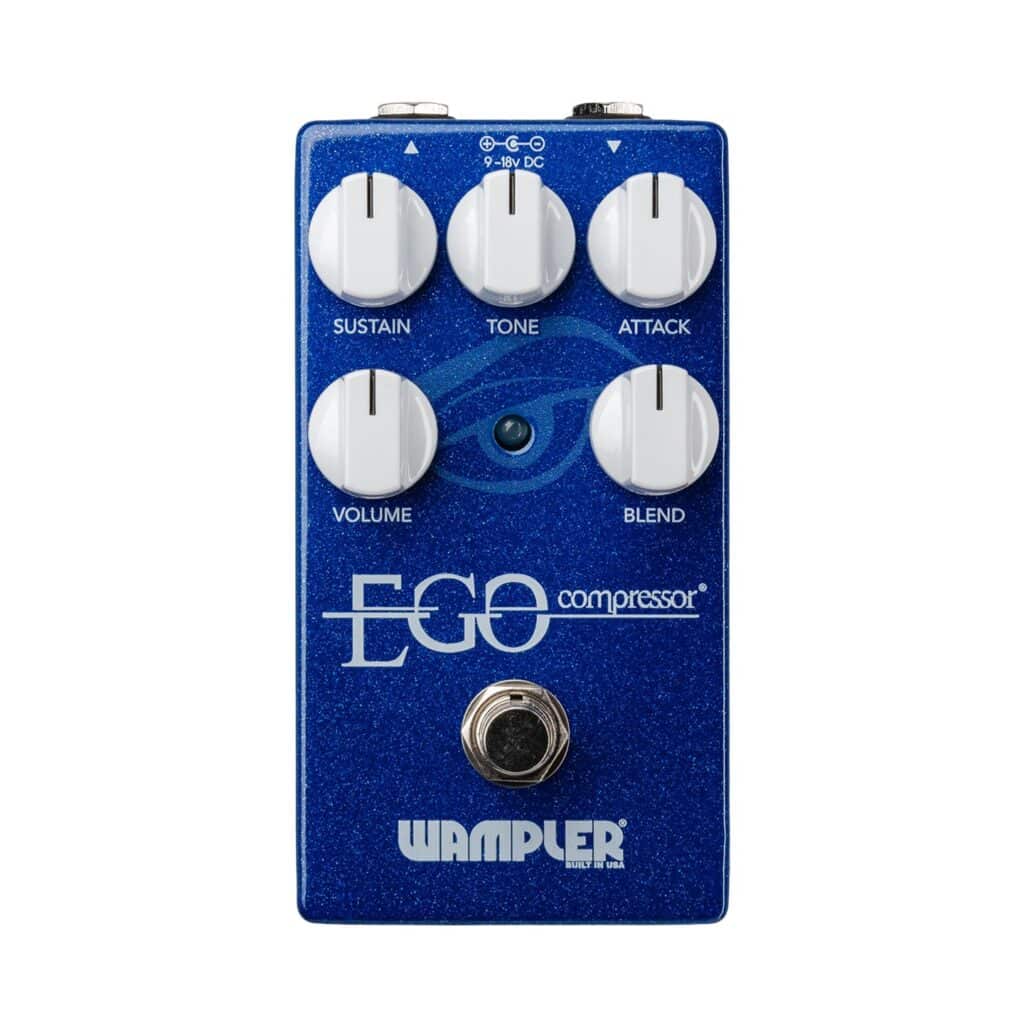
Guitar players can utilize this effect to balance out the dynamics of their playing while adding sustain to their tone. Plenty of guitar compressor pedals feature a blend knob, like the beneath pictured Wampler Ego, allowing axe wielders to achieve a sound that is super smooth yet still natural. The Ego is a mainstay on my board for its fidelity and versatility.
MIX BUSS
As I mentioned before, loudness is generally a consideration when mixing most styles of music, particularly within the pop, hop-hop, and rock genres. Be careful though, as running an entire mix through a compressor can result in any number of unwanted artifacts. To prevent a mix from sounding smushed and small, I setup a Parallel Buss or ‘P-Buss’ track, sending whatever elements I want to am inserted compressor, which provides a subtle lift in perceived loudness. Other times, I’ll strap a compressor with a WET/DRY blend control on the MIX BUSS, and carefully experiment with the Threshold, Ratio, Attack, Release and whatever other controls until I achieve the sound I want. Normally MIX BUSS compression starts to feel heavy handed after more than a couple of dB, but I can push the compressor harder knowing I can bring down the effect using the WET/DRY blend.
FAVORITE PLUGINS FOR PARALLEL COMPRESSION
The truth is, literally any of your favorite compressors can be setup to work in parallel. That said, I have some favorites:
Soundtoys Devil Loc Deluxe
Modeled after the Shure Level Loc hardware, this compressor is an absolute beast. It is not at all subtle, offering explosive and even distorted compression tones depending on how you set the CRUSH and CRUNCH controls. To scale back the extreme sonics of Devil Loc, simply turn down the mix knob to allow as much as you want of the original signal to remain in the path.
Your 1176 of Choice
I am partial to offerings from UAD, but using an 1176 working in parallel alongside your entire mix is advisable, regardless of who makes it. I will setup a Parallel Buss and send whatever elements I want to this buss, often applying at least 5dB of compression with the 1176, which nicely glues together the mix, while boosting loudness.
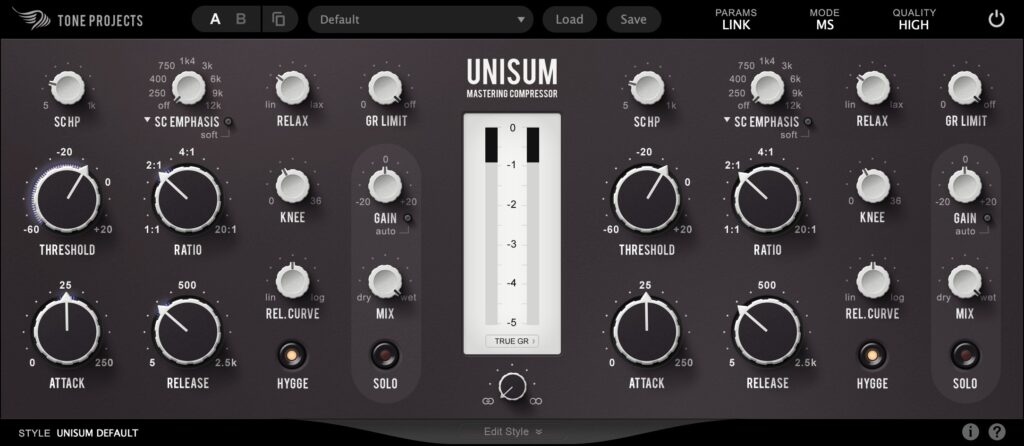
Tone Projects Unisum
I have been loving Unisum for over a year now on my master buss. It’s mostly transparent, but has a certain clarity and thickness to it, and can be tweaked to be more colorful. It has a WET/DRY blend knob, so if I’m feeling as if the mix is compromised by gain reduction, I’ll turn that control down.
Ableton Live Stock Compressor
The compressor that comes with Live is more than serviceable, offering mostly transparent sound quality, and a lot of useful features. This includes a WET/DRY blend control. So if you’re a Live user hoping to harness the qualities of parallel compression, without resorting to buying a 3rd party plugin, look no further.
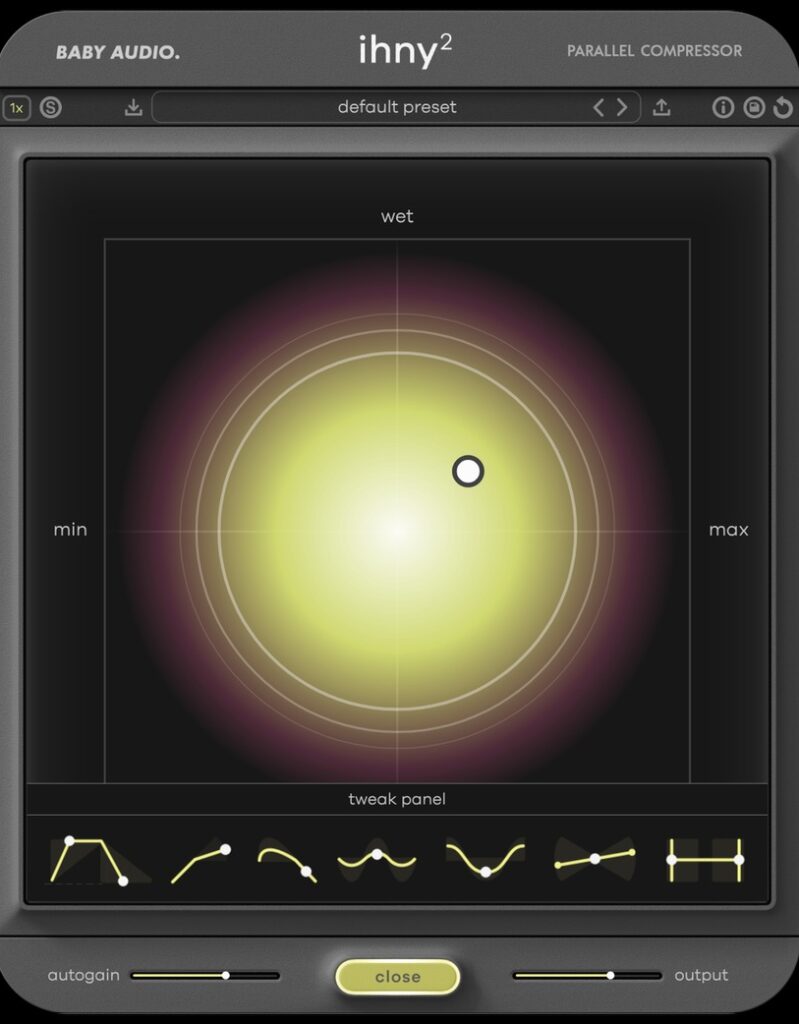
Baby Audio IHNY-2
Even referring to New York City in the plugin name, this outstanding compressor from Baby Audio allows users to control the intensity of the compression as well as the wetness using a nifty XY pad interface.
PARALLEL COMPRESSION SUMMARY
In closing, this effect has made its way from the Dolby Noise Reduction circuit, to Motown, to Studios in New York City and beyond. Today, it’s easy to unleash this powerful effect in any Digital Audio Workstation. Parallel compression is a fast and easy way to apply gain reduction without compromising the quality of the source material. It’s a great effect for anyone who is new to compression, and just as effective for experienced engineers who add character and loudness to their tracks.

