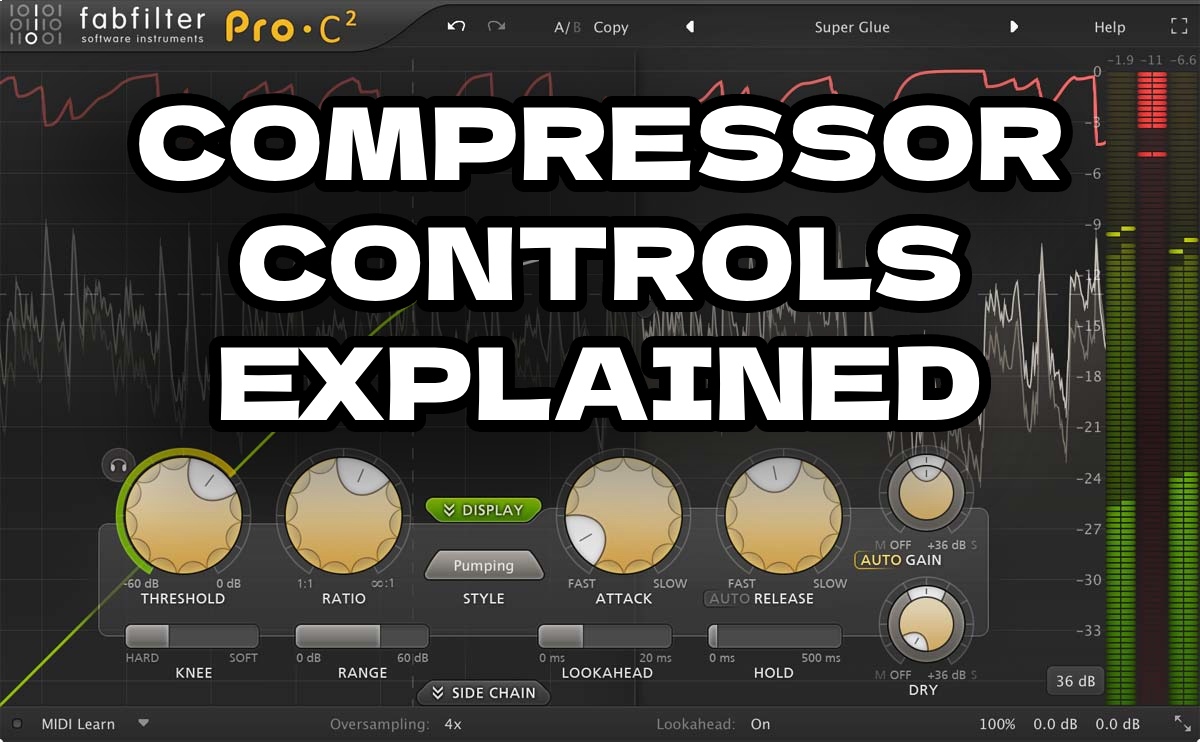
If you’re looking for the different compressor controls explained, look no further. Compression is a tool that audio engineers use for a variety of applications, most notably the control of the dynamic range of signals. To properly apply this essential type of audio processor, it is important to understand the numerous parameters on a compressor, how those parameters affect the behavior and therefore the sound of the compressor.
I will admit there are a few things that are confusing about compression as a whole. Firstly, not all compressors have the same exact set of controls, even if they seek to carry out the same task. Additionally, different compressors behave much differently depending on what is fed into them. If you ever see the term “program defendant” as it relates to compression, it means that different types of material (bassy vs. bright, loud vs. quiet, etc.) will render different results.
Beneath, I’m going to take an in-depth look at 10 of the most common controls you’ll find on a compressor, and explain how to manipulate them to get the most out of your productions.
INPUT
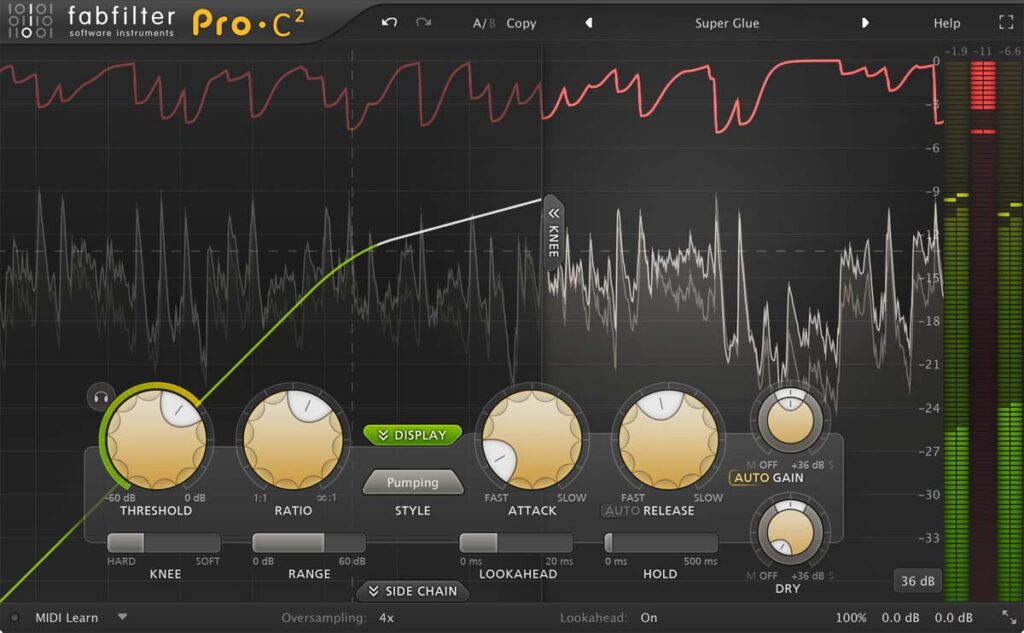
The input control adjusts the level of the audio signal entering the compressor. Increasing the input level effectively raises the overall intensity of the compression effect, as more of the signal surpasses the threshold. Care should be taken not to overload the compressor by setting the input too high, which could result in unwanted (or wanted) distortion. Properly setting the input level ensures that the compressor responds appropriately to the dynamics of the incoming audio source. Certain compressors, such as an 1176-style compressor, have a predetermined threshold and therefore don’t have a dedicated threshold control, resulting in relying on the user turning up the Input more to introduce (and increase) the effect.

THRESHOLD
The threshold on an audio compressor establishes the level at which compression begins to take effect. When set lower, more of the signal exceeds the threshold, resulting in increased compression. Conversely, a higher threshold allows more of the signal to remain uncompressed. It’s also possible to set the threshold so high that no gain reduction is applied whatsoever. Finding the appropriate threshold involves considering the dynamics of the audio source; setting it too low may lead to excessive compression, while setting it too high might result in insufficient control over dynamic range.

RATIO
Ratio determines the degree of compression applied to the signal once it surpasses the threshold. A higher ratio, such as 4:1 or 8:1, signifies more intense compression, effectively reducing the output level for every dB the input exceeds the threshold. Lower ratios, like 2:1, offer subtler gain reduction qualities. Musically speaking, higher ratios are often suitable for controlling peaks, while lower ratios can be applied for gentler, transparent compression, preserving a more natural, dynamic feel. A limiter is a compressor with a high ratio, and while different sources will provide you with different answers, it’s safe to say compression with a ratio set above 12:1 can be considered limiting. The popular NUKE setting on a Distressor represents brick wall limiting and is a delicious option for crushing drum busses.

ATTACK
The attack parameter dictates how quickly the compressor responds to signals exceeding the threshold. A shorter attack time, measured in milliseconds, results in a faster response, swiftly attenuating transients. This can greatly alter the initial impact of percussive sources. Conversely, a longer attack time allows initial transients to pass through unaltered, making it suitable for preserving the natural attack of instruments or vocals. You may hear compressors referred to as having a ‘punchy’ or ‘snappy’ sound to them. Careful setting of several of a compressor’s controls, in particular the attack, will achieve the desired impact. Too fast of an attack however, can squash the signal, resulting in a sound devoid of punch and presence.
Note: This might sound cool however, and could work within the context of your production.
Certain compressors, like the silky smooth Teletronix LA-2A, don’t feature attack or release controls. The average attack time of an LA-2A is 10 milliseconds, while the release time is about 60 ms for 50% release and 0.5 to 5 seconds for full release, all depending on the program material.

RELEASE
Release time determines how long it takes for the compressor to stop attenuating the signal once it falls below the threshold. Short release times are effective for quickly controlling dynamic fluctuations, but excessively short release times can introduce pumping artifacts. Longer release times are suitable for maintaining a smoother and more natural decay, especially in sustained musical passages, but excessively long release times can lead to an unnatural and overly compressed sound, particularly in music genres where quick and precise dynamic control is desirable. Note: Again…this effect may be desirable.

SIDECHAIN OPTIONS
-
Input Sidechain
The input side chain feature allows you to input an external signal into the compressor’s control circuit, influencing the compression behavior based on a separate audio source. This can be particularly useful in scenarios where you want the compressor to respond to a different element in the mix. For example, applying the kick drum as the side chain input for a vocal compressor allows the vocals to be compressed in sync with the kick drum beats, creating a rhythmic and dynamic interaction between elements in the mix.
On my most recent production, I side-chained all of the instruments to the vocals, so that when the vocals were present, the instruments were ducked, resulting in a greater sense of space and clarity for the vocals. Check out a full walkthrough of the mix here.
-
High-Pass Sidechain (HP SC)
A “High Pass Sidechain” or “HP SC” on a compressor refers to a high-pass filter applied to the sidechain input of the compressor. The sidechain is the part of the compressor that listens to the input signal and determines when to apply compression based on the specified threshold. By applying a high-pass filter to the sidechain, you modify which frequencies are being used to trigger the compression.
In the context of a compressor, the sidechain is usually what “listens” to the input signal and decides when to apply compression. Without any filtering, the entire frequency spectrum of the input signal contributes to the detection of when compression should occur.
When you introduce a high-pass filter in the sidechain, you are telling the compressor to prioritize certain frequency ranges for compression while potentially excluding others. For example, if you set a high-pass sidechain filter at 100 Hz, the compressor would be more sensitive to the frequencies above 100 Hz when deciding whether to apply compression. This can be particularly useful in scenarios where you want the compressor to be less responsive to low-frequency content, such as a bass instrument, allowing other elements in the mix to influence the compression behavior more prominently.
In practical terms, a high-pass sidechain can help prevent low-frequency elements from triggering excessive compression, allowing you to retain a more natural and balanced mix. It’s a tool used to tailor the compressor’s response to specific frequency ranges in order to achieve more nuanced and controlled compression.

KNEE
The knee control defines the transition between the uncompressed and compressed regions around the threshold. A “hard knee” results in an abrupt onset of compression once the threshold is exceeded, suitable for precise and aggressive control. On the other hand, a “soft knee” introduces a gradual compression onset, smoothly transitioning between the uncompressed and compressed states. This softer approach can be beneficial for maintaining a more natural and less noticeable compression effect, especially when dealing with subtle dynamics.
 Hard vs. Soft Knee as illustrated by a pair of stock Ableton Live Compressors
MAKEUP GAIN
Makeup gain is a crucial control for compensating for the reduction in overall signal level caused by compression. After applying compression, the louder portions of the signal are brought closer in level to the quieter portions. The makeup gain control allows you to boost the compressed signal, bringing it back to a desired overall output level. Properly set makeup gain ensures that the compressed signal maintains an appropriate balance within the mix.
DRY/WET (MIX)
The dry/wet or mix control on a compressor enables you to blend the compressed (wet) signal with the original (dry) signal. This is also referred to as parallel or New York compression, where a portion of the uncompressed signal is mixed with the highly compressed version. This technique preserves some of the natural dynamics while still benefiting from the controlled elements introduced by compression. Adjusting the mix control allows for a nuanced balance between the raw, unprocessed sound and the dynamically controlled, compressed signal, offering flexibility in shaping the overall character of the audio.
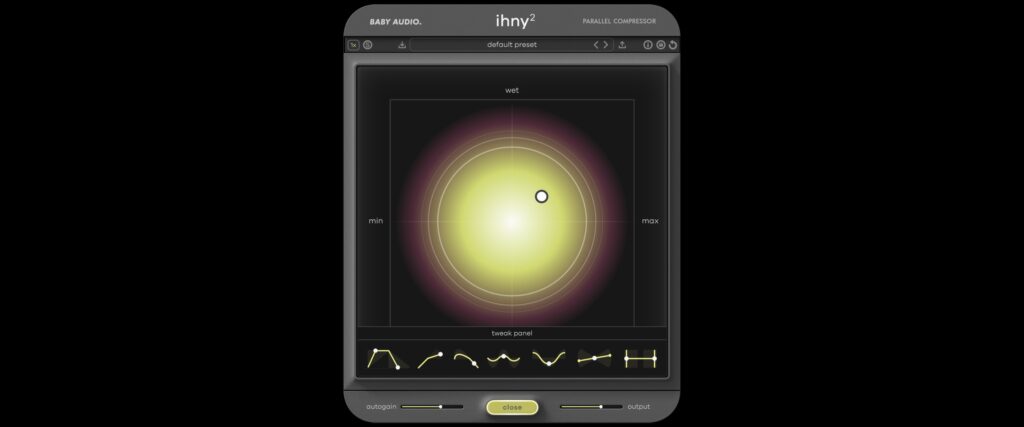 The IHNY2 Compresor from Baby Audio.
OUTPUT
The output control regulates the overall level of the compressed signal. Some compressors lack a makeup gain feature, the output control allows you to compensate for this reduction. It’s crucial to set the output level judiciously to achieve the desired balance between dynamics control and maintaining an appropriate overall signal level.
COMPRESSOR CONTROLS EXPLAIN SUMMARY
I hope this resource has been helpful and that you feel confident with one of the most important types of audio effects processors, the compressor. For a roundup of some of my favorite compressor plugins, be sure to check out this article.

