The article will provide free and DIY resources for acoustics and studio design so you can have confidence that the music and post-production mixes you do in your home project space will translate well regardless of the playback scenario or context.
WHY GOOD ACOUSTICS ARE IMPORTANT FOR STUDIO DESIGN
One of the main goals of acoustic design for control rooms or mixing spaces is to create a neutral-sounding room that does not overly contribute to the sound you hear at the listening position. For instance, if there is a resonant mode or standing wave present in your room due to its shape or parallel surfaces, certain frequencies (particularly in the low end), may sound weak or too loud, causing you to overcompensate for the issue. This will result in poor translation when the music is played back in another space.
Likewise, if your room is not acoustically sound, you will not get a true stereo image and will end up panning things to compensate for the room responses which is not a good idea.
Good acoustic design is also important for recording spaces. You wouldn’t want a space that is too reflective or too dead. Also, you want to avoid comb filtering effects and obtrusive resonant modes.
Lastly, the idea of acoustic isolation, sometimes mistakenly conflated with absorption or diffusion concepts, speaks to the idea of preventing exterior sounds from entering a space and vice versa. The need for isolation is highly dependent on where your studio is located–urban or rural environments, apartments, stand-alone buildings, etc.
There are myriad commercial solutions for all these issues and you can spend thousands for even small spaces if you have the budget. But often DIY and other creative strategies can provide decent results at a fraction of the price.
TYPES OF STUDIO SPACES
The types of acoustic spaces used in audio production can be broken down into three main categories–control or mixing rooms, live or tracking rooms, and isolation booths. Each presents certain acoustic challenges and related solutions.
Control rooms or mixing spaces should be symmetrical from the perspective of the listening position so that an accurate stereo or multichannel image can be perceived. Parallel walls which can cause obtrusive resonant modes should be avoided or mitigated through the use of absorption and diffusion devices, and bass traps.
Live or tracking rooms are where musicians are located and recorded. Here symmetry is less of an issue because locations will vary based on what is being recorded, but parallel surfaces should still be avoided if possible. In-home project studios, the control or mixing space also doubles as the tracking room and in both cases, you would not want a space that is too reverberant or dead.
Isolation booths provide a way to separate the recording or a vocalist, instrumentalist, or amplifier, to provide more control and reduce mic bleed in other channels. In contrast to live rooms, these are usually much smaller and less reverberant.
MEASUREMENT AND ANALYSIS
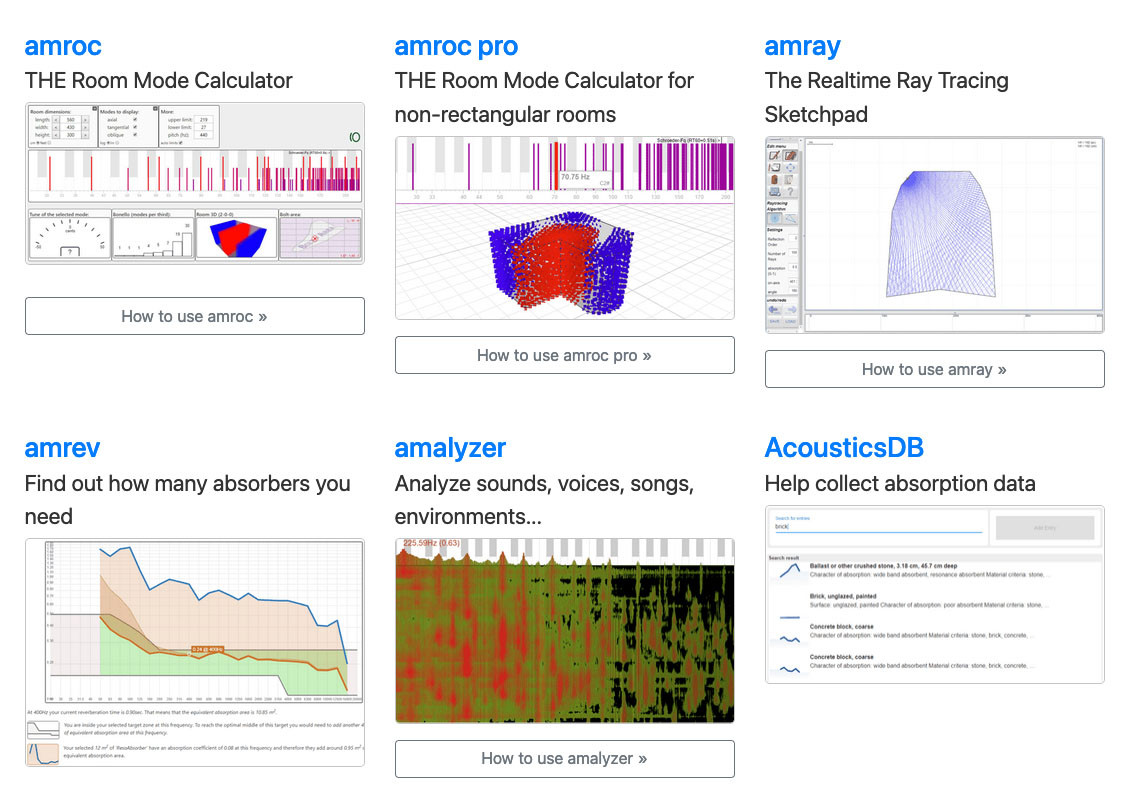
One of the best sites I’ve come across for acoustic analysis is amcoustics.com. This site offers free online acoustic calculators that will identify room modes based on your room shape and dimensions, reflection points based on raytracing algorithms, the number of absorbers required, and more.
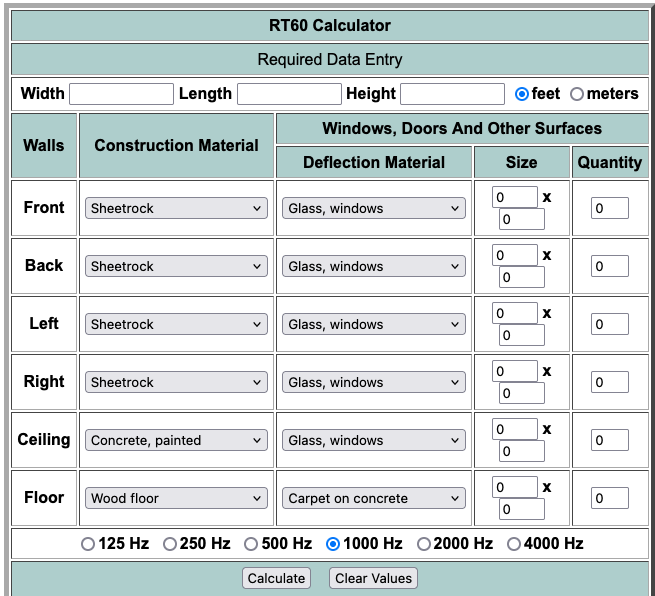
RT60 is considered the standard measurement for reverb time in a space. It is defined as the time it takes for the reverberation in a room to die down 60dB from the original level. The higher the RT60 the more reverberant the space. One free online resource that works well for estimating reverb time can be found at csgnetwork.com. Using this calculator, you enter the size of the room, the nature of the walls and other surfaces, and the frequency you want to consider and the software does the rest.
It should be noted that RT60 is frequency-dependent and room shape-dependent, and every surface or material has unique reflective or absorptive qualities, so complete accuracy would require that many measurements be taken in the actual space. But this tool is great for getting a ballpark estimation of reverb time.
There is also a free app called, ClapReverb available on the App Store I’ve found easy to use. As the name implies, you simply clap in the space with the app running and it will give you the recorded RT60.
Another cool resource can be found at oliverprime.com. This cool online application will help you determine the materials needed to build your own primitive-root skyline diffuser based on the particular needs of your space. The costs of commercial diffusers are particularly high, so if you have some basic carpentry skills and a place to work DIY options can save you a bundle.
The Room EQ Wizard is a free resource for making room acoustics measurements that will help you optimize your space and determine the best locations for speakers, subwoofers, and the listening position.
ISOLATION
There are many methods to improve the isolation in your space. Some involve architectural modifications or construction methods that can be pricey and cost-prohibitive such as offset studding, dual drywall layers installed with green glue, acoustic paint, drop ceilings, floating floors, etc.
But if you have very little money there are a few strategies that can still work to an extent. If you live in a neighborhood where activity is louder during the day, record or mix at night. Sounds stupidly simple, but Occam’s razor approach based on simplicity, is often the best idea.
It seems to me that two of the most omnipresent external sounds that might infiltrate your recording or mixing space are traffic and birds, both of which are usually diminished at night. Of course, noisy neighbors or those unappreciative of your producing genius are another issue.
Sound only needs a tiny gap to escape or enter a space, so another consideration is to tightly seal the space as much as possible using caulking, expansion foam, insulation, etc. You can design removable acoustic panels to cover windows or doors when you’re working.
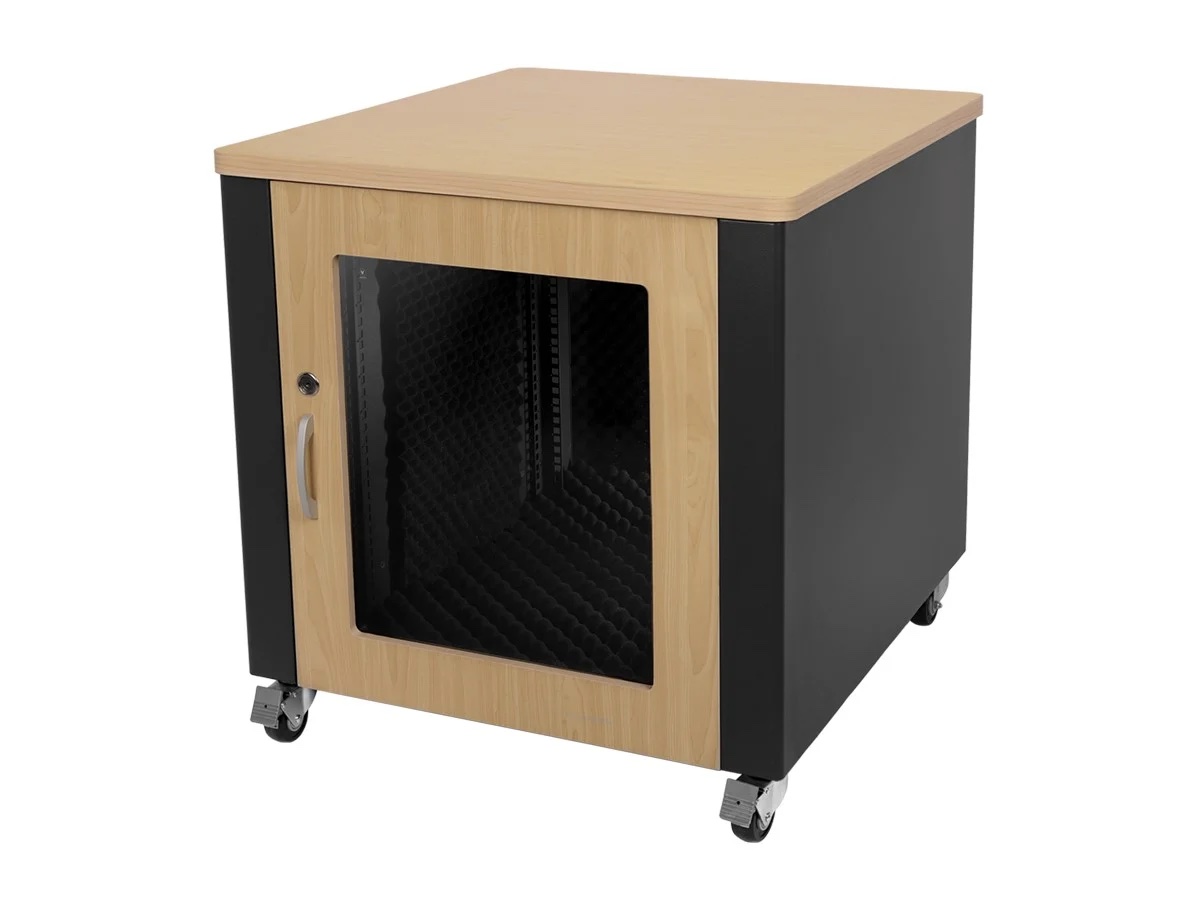
Computer and hard drive fan noise can interfere with recording and be distracting in the mixing process. A simple fix is to locate these devices in another room. More elaborate (translation: expensive) solutions include liquid-cooled isolation enclosures for computer equipment and gear.
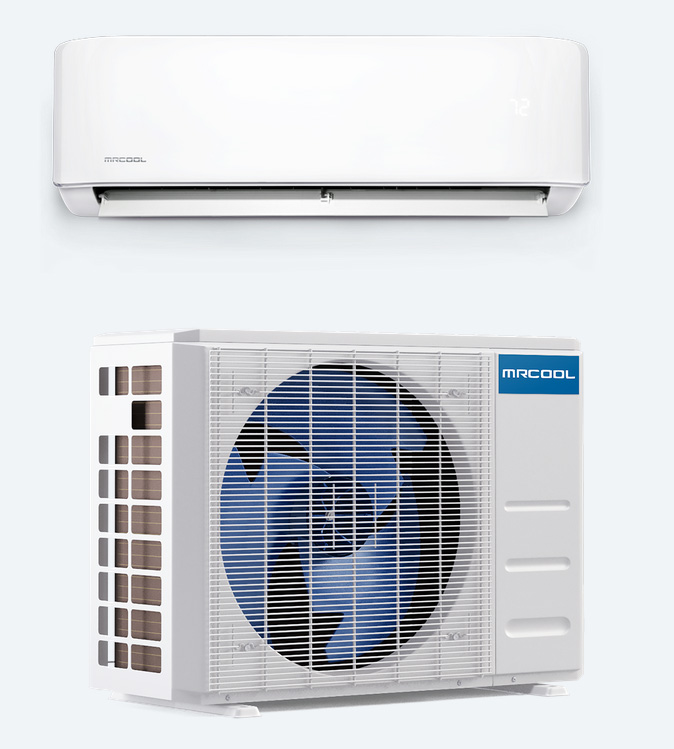
HVAC or heating and cooling equipment is notoriously noisy. Professional studios are designed to eliminate these sounds from studio spaces at great expense using isolated ductwork and other solutions. Mini-splits are a great alternative to traditional methods and are typically far quieter than central AC or heating systems. There are even DIY systems you can install yourself. Check out this article describing my experience installing a Mr. Cool system in my studio space.
ABSORPTION
When considering absorption, there are plenty of commercial options available. Perhaps the most overpriced material is acoustic foam, which is really only marginally effective at higher frequencies and does nothing for the low end.
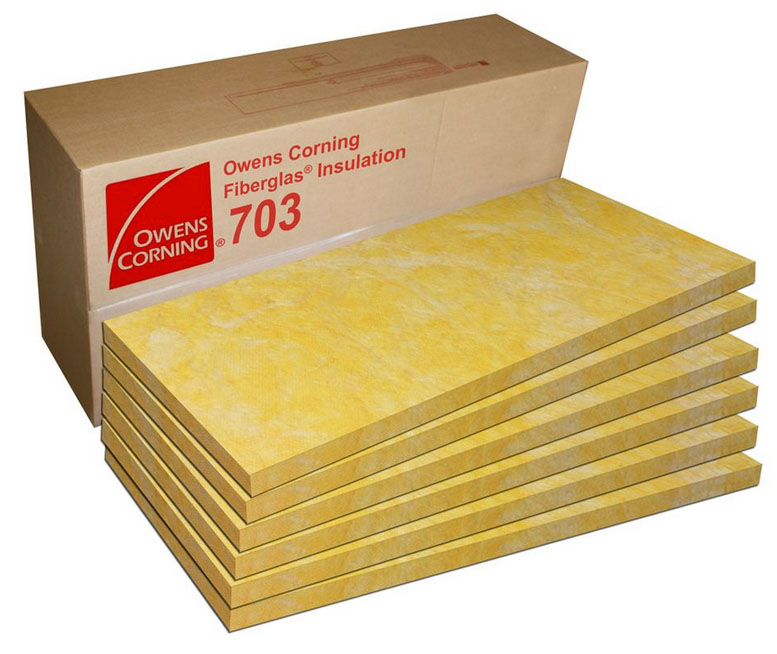
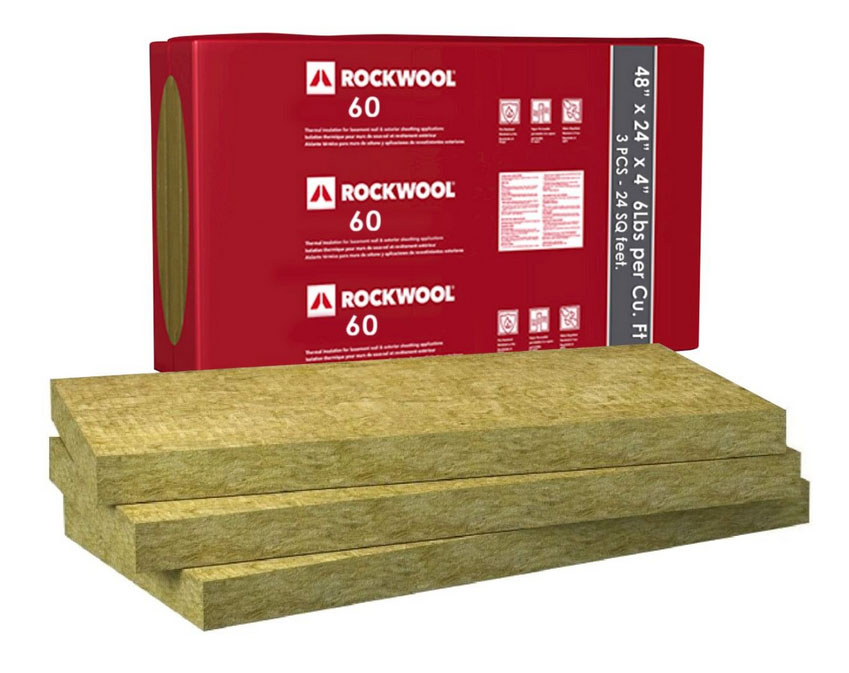
Fiberglass or Rockwool are far better choices and are often used for constructing absorption panels. The thicker the panel the better it will perform at lower frequencies and positioning the the panels out from the wall with spacers will also help with lower-end absorption. You can use multiple 2 inch panels to get 4 or 6 inch thicknesses.
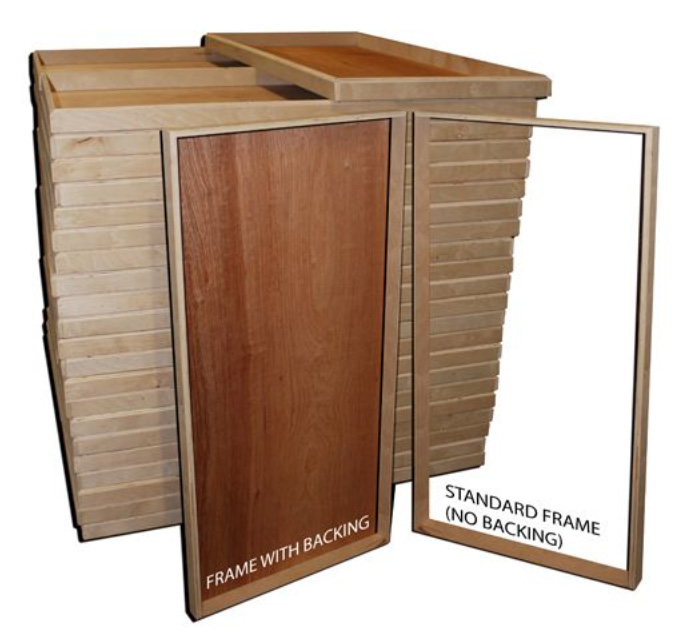
These rigid and semi-rigid materials are available in precut sizes such as 24” x 48”, making them ideal for panel construction. You will need some sort of frame to hold the material, usually pine or Douglas fir lumber is best. You can also find frame kits precut and designed for housing the rigid insulation mentioned such as these found on the Acoustimac website:
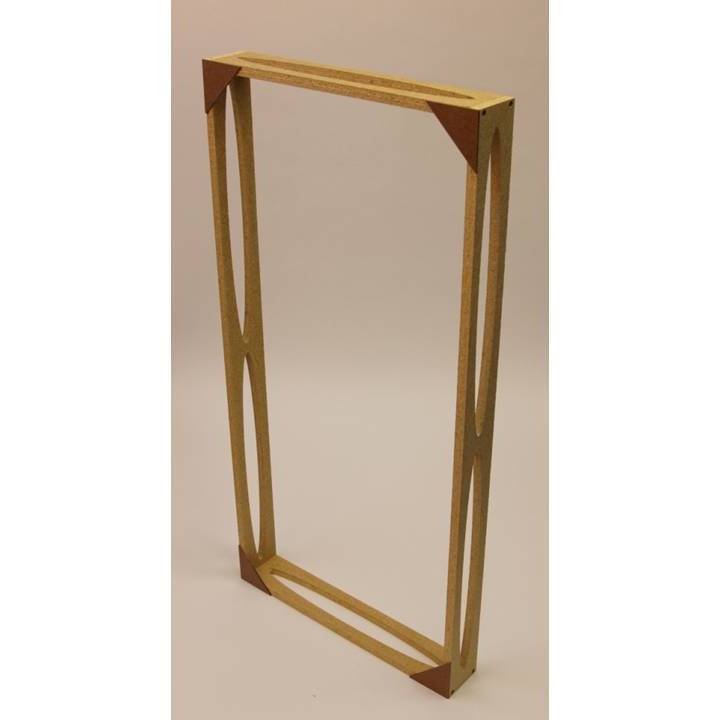
Some framing methods allow the absorptive material to be exposed on the sides and back of the panel. While having absorption material on the sides exposed might not make that big a difference, it definitely can’t hurt. Here’s an example from GIK Acoustics:
For aesthetics, you will want to wrap your panels in some sort of acoustic fabric that is non-reflective or acoustically transparent. Not all fabrics will work because the fabric itself could be reflective, thereby defeating the purpose. Acoustimac offers a product that is fire rated and acoustically transparent.
Other absorption strategies you might want to explore include the placement of area rugs, moveable gobos, and acoustic curtains.
DIFFUSION
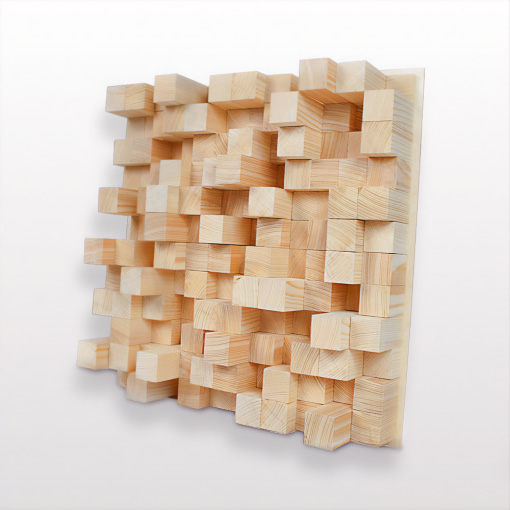
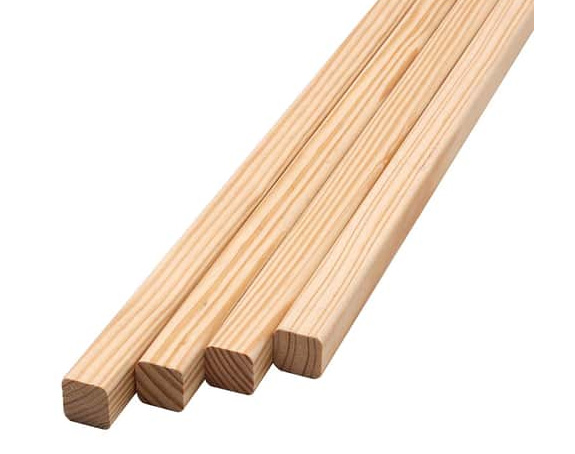
Diffusion in a studio helps to spread out reflections evenly throughout the room and lessens the potential of obtrusive resonant modes. Commercial diffusers come in all shapes and sizes and are usually quite expensive. But with the help of free online resources like oliverprime.com and amcoustics.com, a miter saw, some 2×2 lumber, a piece of plywood, and some wood glue, you can build your own skyline diffuser designed specifically for your space. It is called a skyline diffuser because of its resemblance to a city skyline.
(source)
Diffusers can work well from around 500 to 5000 Hz, so the first step is to figure out the lowest resonant axial mode in your space and determine the harmonic frequency above that comes close to 500 Hz. That will be the lower frequency for which the diffuser will be designed. Here’s an example:
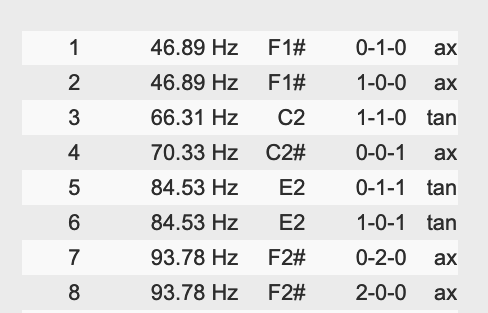
Let’s say your room is 12W x 12L x 8H (in feet) and you want to design a diffuser for the back wall. Using the room mode calculator from amcoustics we can see that the lowest resonant axial mode is 46.89Hz.
Now take 500Hz and divide it by the lowest resonant axial mode (46.89Hz) to find the harmonic that comes closest to 500Hz.
500/46.89 = 10 66 = rounded to the nearest whole number gives us 11.
Rounding the answer to the nearest whole number gives us the 11th harmonic. So we can design a diffuser that will diffuse frequencies down to:
46.89 x 11 = 515.79 Hz
We can use 1 inch for the shortest block and 1.5 inches for the block width (this corresponds to the finished six of 2×2 lumber found at your local home improvement store).
For block count (rows/columns) we’ll choose 240 [15, 16], as an example. This could vary depending on how large or small you want the device to be.
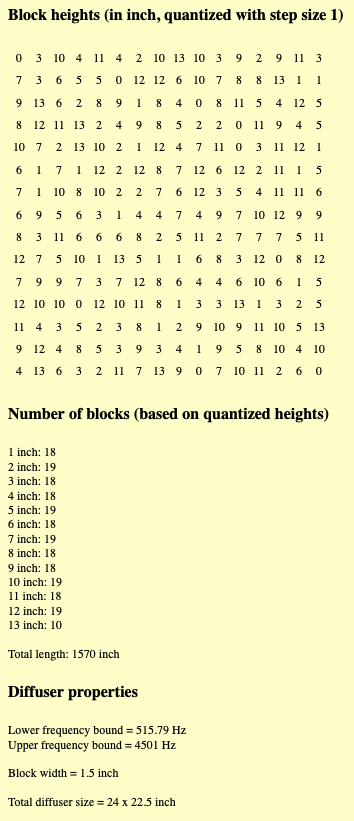
With the setting in place, the application will calculate a positioning matrix and list of needed block heights in inches
The rest of the process is about cutting the blocks needed and gluing them to a mounting board. It’s a time-consuming activity but when you’re done, you’ll have a diffuser designed specifically for your space at a fraction of the cost of a commercial product.
CORRECTIVE EQ
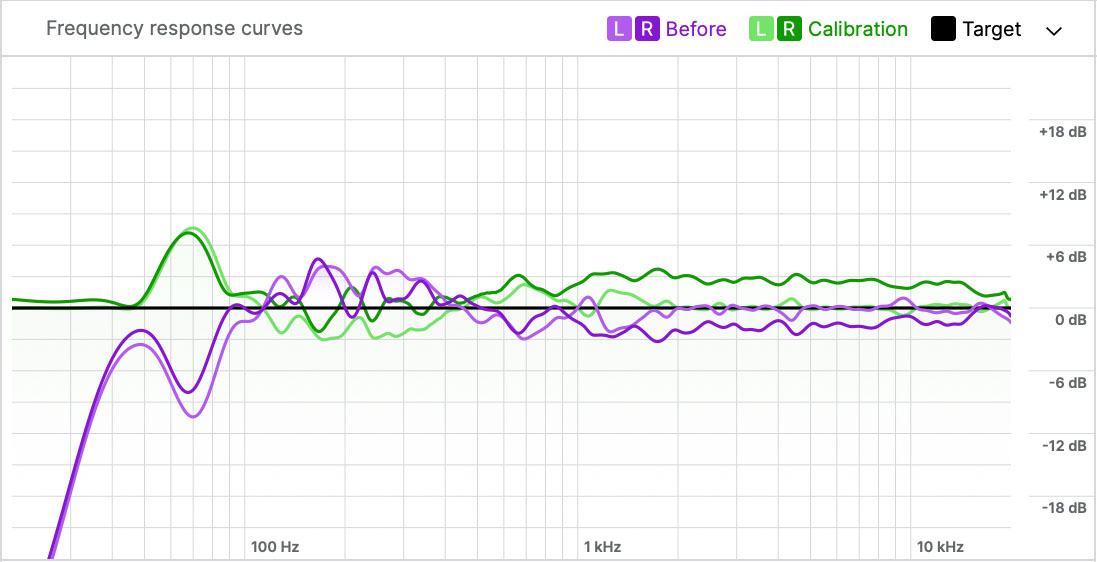
After you’ve done all you can with physical acoustic devices you still may have some resonant modes to be tamed or a slightly inaccurate stereo image due to inconsistencies in room surfaces and non-symmetrical room characteristics. There are software solutions to make these final tweaks. One of my favorites is Sonarworks SoundID Reference.
I should emphasize that this is not a replacement for acoustic treatment, but it does a beautiful job of refining the acoustics in a room by applying a corrective EQ process at the end of your signal chain.
CONCLUSIONS
It should be clear that acoustic design is something any serious producer needs to be concerned with if they want to hear an accurate reference sound in their studio and make intelligent mixes that translate well.
Also, recording spaces need to be free from external noise, have a balanced frequency response, and have an RT60 that works well for recording live musicians.
If you’re mixing solely with headphones, none of this matters. But you will never hear stereo or multichannel audio correctly with headphones because they completely isolate the left and right channels and do not take into account HRTF (head-related transfer function). For example, with headphones when you pan something hard left or right you only hear that sound in one of those channels. With reference monitors, you always hear left and right channels in both ears, albeit at different amplitudes (interaural intensity differences). And the headphones themselves will have specific frequency response characteristics that are not flat across the spectrum and may not translate well to other contexts.
With the tools mentioned above you can begin to design a studio space where you can mix and record with confidence without going bankrupt in the process. Look for more articles on acoustic treatment positioning and related topics to come.
EXTRAS
Want to win a free license to Kontakt 7? Be one of the first 1000 people to FOLLOW WAVEINFORMER ON INSTAGRAM to be automatically entered to win one of three full-version Kontakt 7 licenses! Read more.
Assess your knowledge of essential audio concepts using our growing catalog of online Quizzes.
Explore more content available to Subscribers, Academic, and Pro Members on the Member Resources page.
Not a Member yet? Check the Member Benefits page for details. There are FREE, paid, and educational options.


