Pro Tools shortcuts are essential for operating the industry-standard Digital Audio Workstation to its fullest potential. In this article, I’ll cover some of my most used time-saving shortcuts and explain how I use them while working. Be sure to take the Basic Pro Tools Shortcuts Quiz upon completion.
1. Cmd + N (Mac) / Ctrl + N (Windows)
Opens a new session. Upon launch, Cmd + N is the first Pro Tools shortcut I utilize. Useful for starting a new project or session. This will open the Dashboard which can then be navigated to create a new session to your desired specifications, open a recent session, access collaborative projects in the cloud, or access the helpful “GETTING STARTED” Tab which contains resources for learning Pro Tools and a variety of session Templates.

Starting a new session couldn’t be easier. Finishing however, is a different story.
2. Enable Keyboard Focus Mode
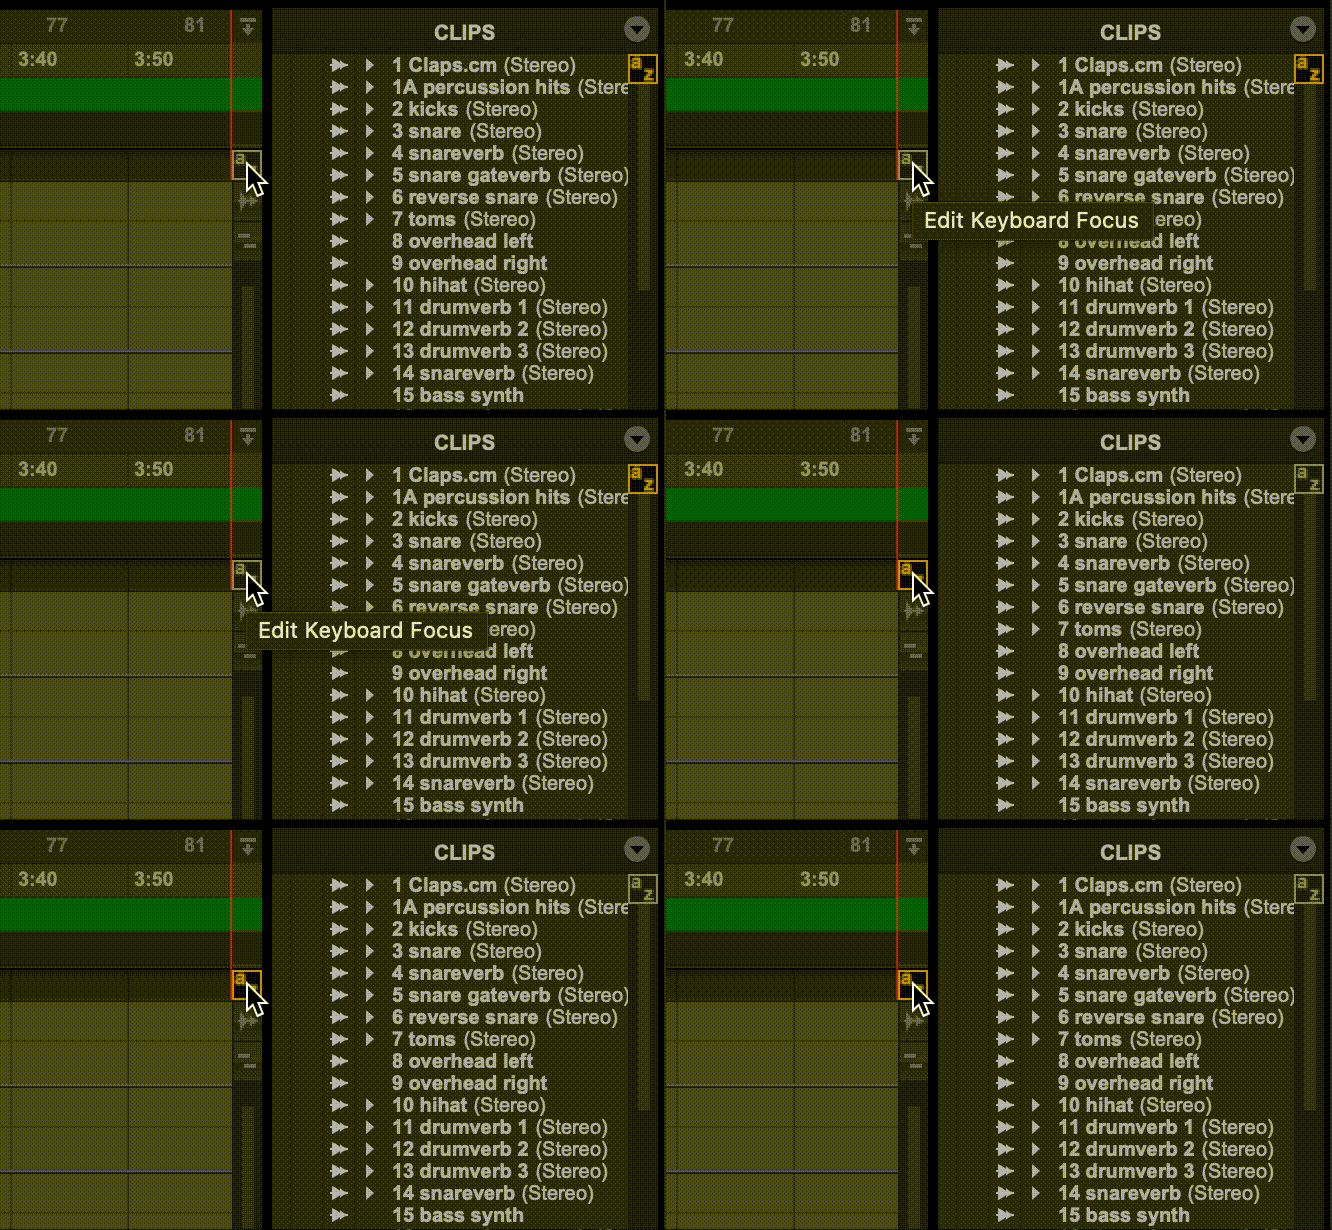
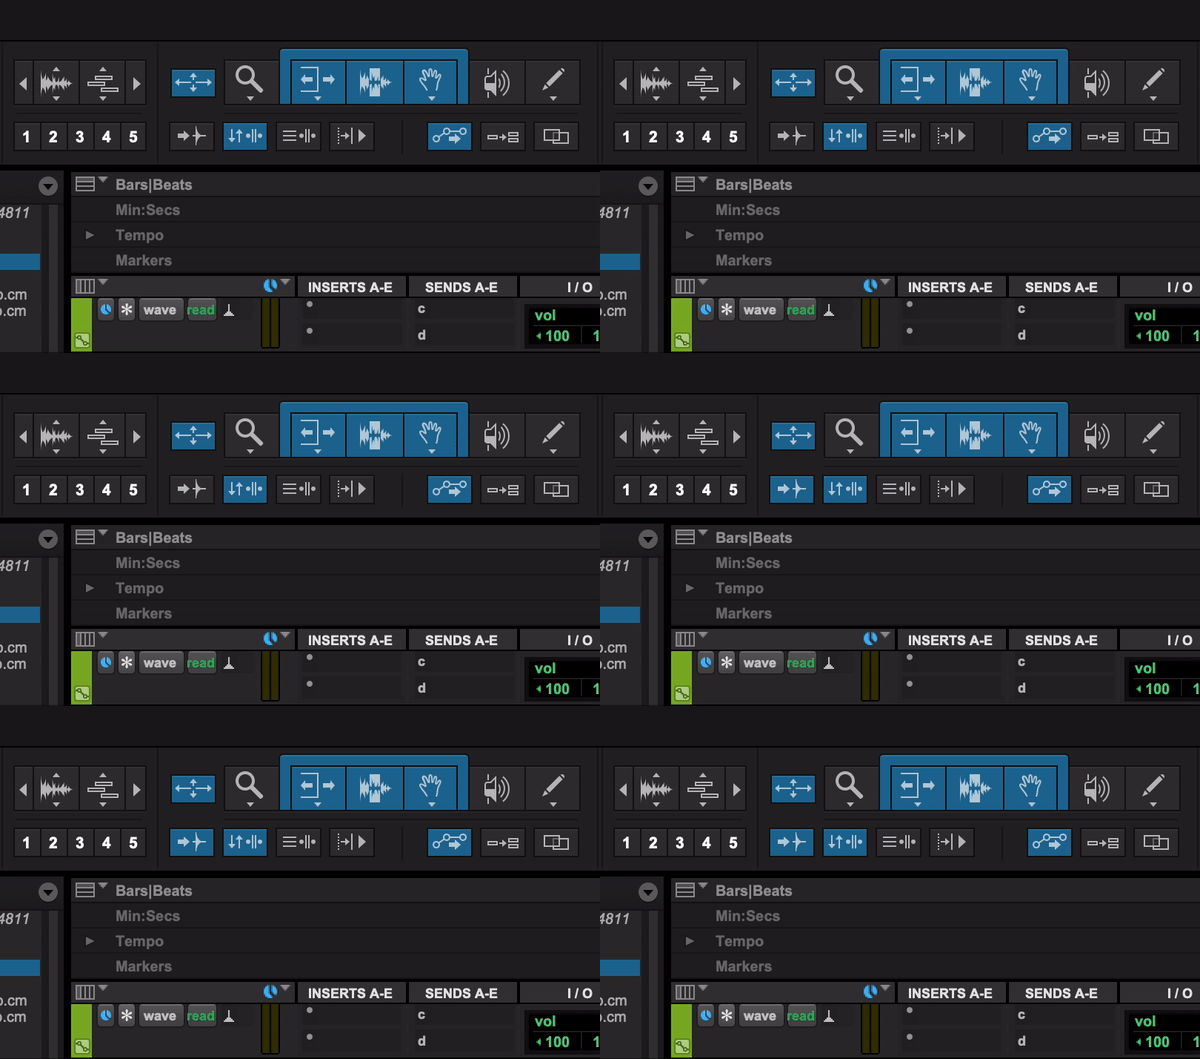
Keyboard focus mode is a powerful but sometimes overlooked feature that lets you access editing and playback commands using single key presses, significantly speeding up your workflow. Click to enable and utilize many key commands for various editing and playback tasks like cutting, fading, selecting clips, navigation, and more. Many of the Pro Tools shortcuts mentioned below require Keyboard Focus Mode to be enabled before they can be used, so be aware.
Ensure that Edit Keyboard Focus is enabled to access many of the Pro Tools Shortcuts covered in this article.
3. Cmd + S (Mac) / Ctrl + S (Windows)
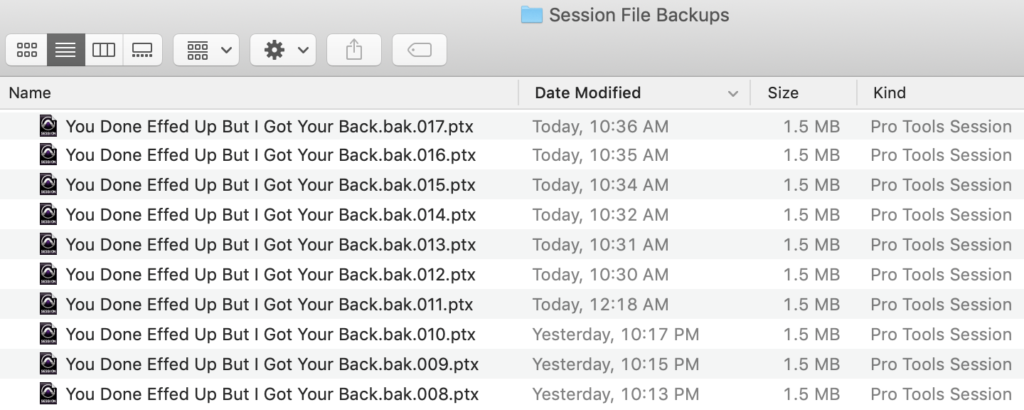
Saves your current session. It’s crucial to save your work regularly to avoid losing progress. For additional peace of mind, make sure that Pro Tools is saving session file backups, which will appear in their own folder. I can’t tell you how many times I neglected to hit Save while working for hours, only to have a session freeze up. Thankfully, the backups saved me. Regardless, use this Pro Tools shortcut and save your work often.
Session File Backups are clutch
4. Cmd + Z (Mac) / Ctrl + Z (Windows)
Undo. Reverts the last action. Handy for correcting mistakes or trying different edits. If only life had a command + Z button sometimes. 😢
5. Cmd + Shift + N (Mac) / Ctrl + Shift + N (Windows)
Creates a new track. Streamlines the process of adding a new Audio, Folder, Aux, VCA, Instrument or MIDI track to your project. Utilize the command + left or right arrow to change the number of channels (mono, stereo, surround) and use command + up or down arrows to change the track type.
I have a problem.
6. Cmd + E (Mac) / Ctrl + E (Windows)
Edit. Separates a clip into two at the cursor point. Useful for precise editing and arrangement adjustments. This can also be accomplished simply by pressing B.
7. Spacebar
Starts and stops playback. Provides a quick way to audition your work without navigating to the transport controls with the mouse.
Spacebar.
8. P and ; (semicolon)
Toggle the cursor up and down between tracks. This is a great navigational shortcut that I use if I’m happy with where the playhead resides, but I want the cursor to be placed on a different track. This one is very helpful for copying and pasting automation (more on that later).
9. Cmd + D (Mac) / Ctrl + D (Windows):
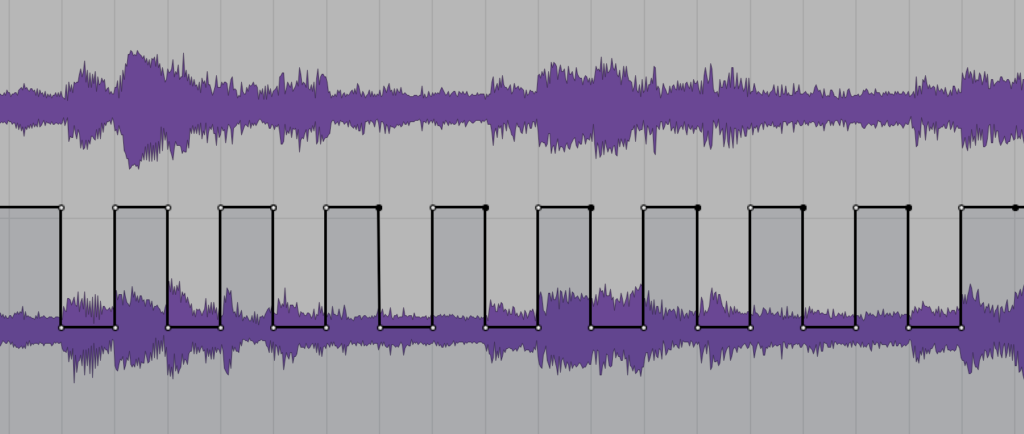
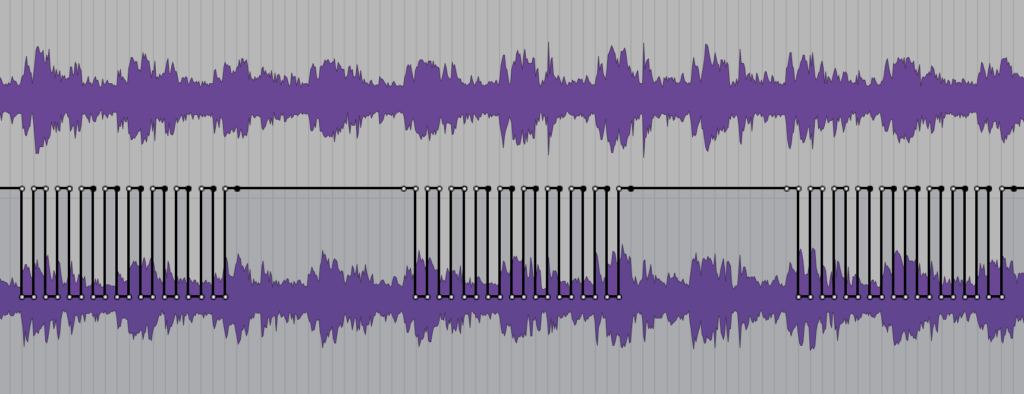
Duplicate. Creates a copy of the selected clip(s) or items. Helpful for repeating elements in your composition. This applies to automation information as well. I’ll use this when manually gating out the bleed on kick and/or snare mics. If the performance was done to a click, go into grid mode, select the automation that you want to duplicate, and have at it!
Dramatic Volume Automation drawn in once and then duplicated using Cmd + D (Mac) / Ctrl + D (Windows)
The automation can be copied and pasted to other parts of the arrangement using Cmd + C, Cmd + V (Mac) / Ctrl + C, Ctrl + V (Windows)
10. Cmd + C, Cmd + V (Mac) / Ctrl + C, Ctrl + V (Windows)
Somewhat similar to duplication, clips, automation, and other items can be copied and pasted using Cmd/Ctrl + C followed by Cmd/Ctrl + V. Another hugely helpful Pro Tools shortcut I use often when arranging and mixing.
11. Command + Option + Tab (Mac) / Control + Alt + Tab (Windows) and then Tab
The first shortcut here enables the “tab to transient” function which then allows the user to press Tab to move the cursor to the next transient found on the playhead. Option + Tab to go to the previous transient. This is incredibly useful for a variety of tasks including editing drum performances and aligning samples. Admittedly, this function isn’t perfect and sometimes places the cursor a bit before I’d like it to.
Toggling the ‘Tab to Transient’ function on and off
12. Cmd + G (Mac) / Ctrl + G (Windows)
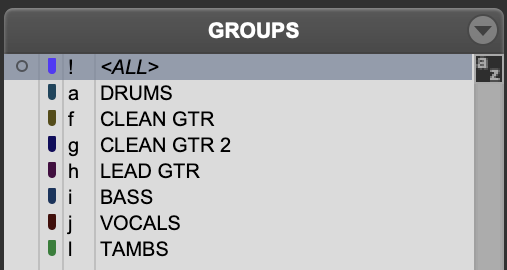
Group. Groups selected tracks together. Useful for editing or moving multiple tracks simultaneously. Whether you’re working in music, post-production, or something else entirely, grouping tracks should be a part of your organization system. Depending on how your groups are setup, you can solo, mute, and apply many other commands simultaneously to tracks that are grouped.
An example of how I may use groups in a simple rock arrangement.
13. Cmd + Shift + G (Mac) / Ctrl + Shift + G (Windows)
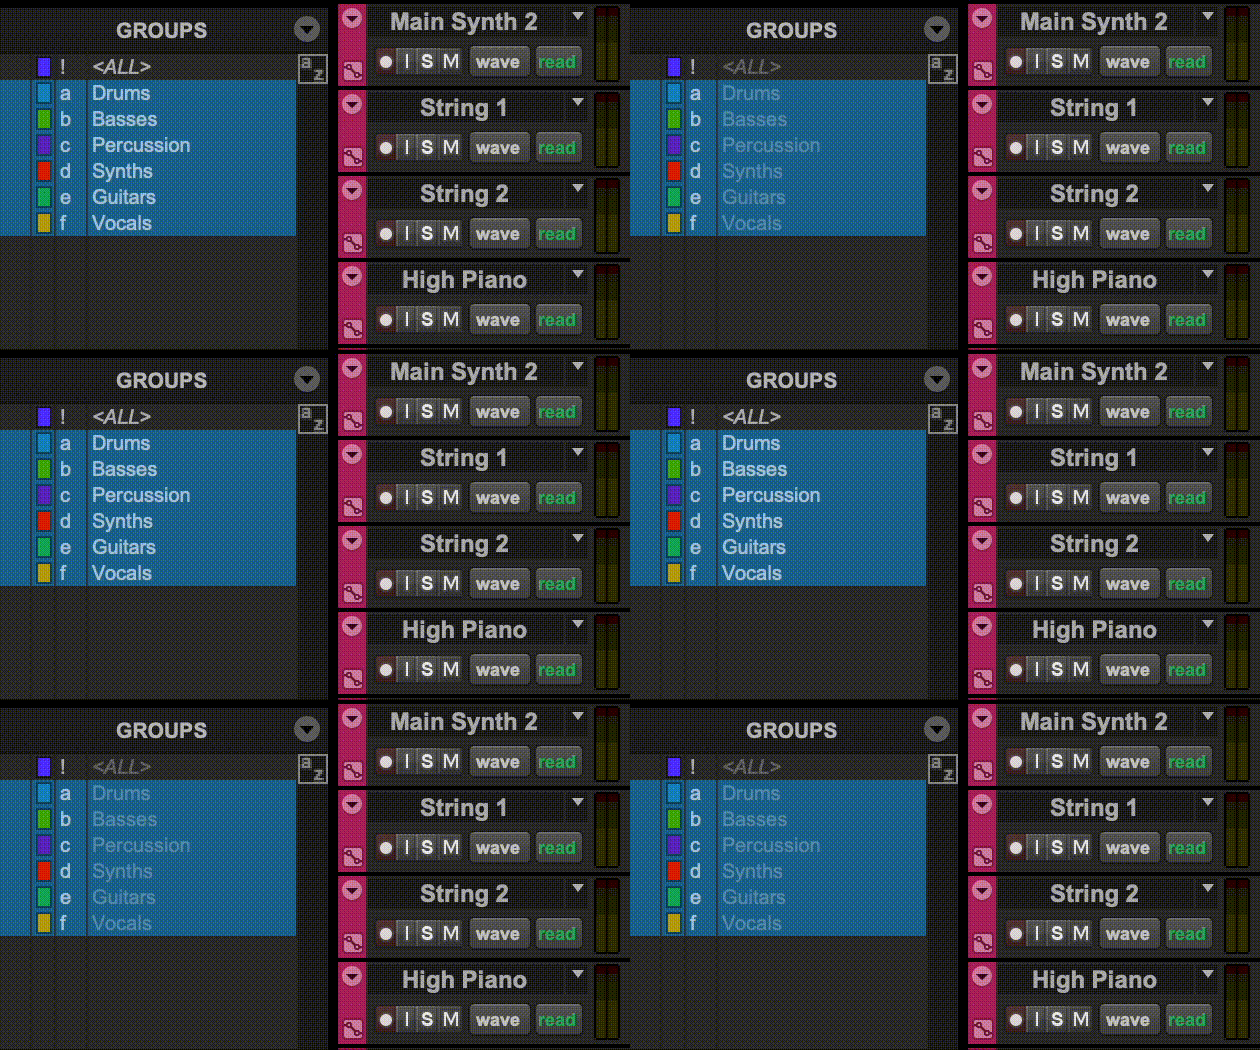
Turn off/on groups. Returns tracks to individual control. Let’s say I was working with groups enabled to edit the drums altogether, but for whatever reason, I need to shift my focus to the snare drum only. I’ll use this shortcut to turn off the groups, accomplish my task at the individual track level, and then turn them on again. Truthfully, this is one of my most used Pro Tools shortcuts and I utilize it on virtually every session.
14. T and R to horizontally zoom in and out
This is essential for when you want to get up close and personal with audio clips and perform surgical edits. Zoom in with T to get as close as you need, and then zoom out with R when the task is complete to see the broad overview of your session. I remember these shortcuts with the mnemonic device “T is for Telescope, R is for Retract”
15. Tilde (~)
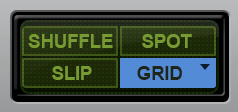
Cycles through slip, grid, shuffle, spot modes. The 4 different modes in Pro Tools each have their own strengths, and I navigate between each of them often using the tilde (~) key rather than using the mouse. Here’s a quick breakdown of each of them:
The 4 Pro Tools Modes, which can be cycled through using Tilde (~)
Slip Mode: Allows free movement of audio clips. Great for precise editing and nudging of clips on the timeline without being beholden to the grid. Speaking of…
Grid Mode: Snaps clips to a predefined grid, great for musical editing or when working with frames.
Shuffle Mode: Automatically closes gaps when moving or trimming clips. Helpful for removing unwanted space between lines of dialog.
Spot Mode: Lets you specify precise time locations for placing or moving clips.
BONUS: Command + Shift + W (Mac) / Ctrl + Shift + W (Windows)
Closes session without quitting Pro Tools. Quitting Pro Tools, only to reopen the software just to open a different session is a mistake I see many beginners make. It’s not uncommon to work on multiple sessions in a day, and this Pro Tools shortcut will prevent you from having to sit through the software loading as you move from one session to another.
Basic Pro Tools Shortcuts Summary
These Pro Tools shortcuts provide a foundation for efficient navigation and basic editing in the industry standard DAW. As you become more familiar with the software, you can explore additional shortcuts to enhance your workflow further. Now that you’ve completed this article, go ahead and test your comprehension with our quiz on Pro Tools Shortcuts.


