In the past 20 years, podcast audio production has gone from a niche topic to a major sector of the industry. If you’re making a podcast, or hired to engineer and mix a podcast recording, aiming for the highest sound quality possible is a crucial step in getting your work to stand out and keeping your listeners engaged. Here, we’ll cover the basics and best practices for capturing and delivering the highest quality audio possible, ensuring that your listeners can focus on your content, amazing ideas, and sexy voice without distraction.
Some podcasts require just one microphone, a computer with simple recording software, and a talented host to make compelling content. Other shows require complex setups with multiple microphones, a workflow to record remote guests, video capture, and an organized post-production plan. No matter what the setup is, the primary goal for engineering a podcast is to produce pleasant-sounding, balanced audio that never compels the listener to adjust their playback level – nor should they be distracted or turned off by unprofessional, poor-quality audio. If all of the hard work and thought that goes into recording, mixing, and editing is never considered or noticed by the listener, then we’ve done our primary job as engineers. Sound design, music, and immersive audio podcasts will be covered in future articles.
BEST PRACTICES FOR RECORDING
Consider the Room for Podcast Audio Production
One of the most important and often overlooked issues to keep in mind when recording is that the sound of your room, and any noise in your environment, will very likely be picked up by the microphone. There’s also a good chance that noise will be accentuated in the final product as a result of the use of dynamic range compression and/or volume automation. Many voice recordings benefit from some dynamic range compression and volume automation to ensure a consistent volume level for the listener — the caveat is that both will make the room tone, and any unwanted noise in it, more noticeable.
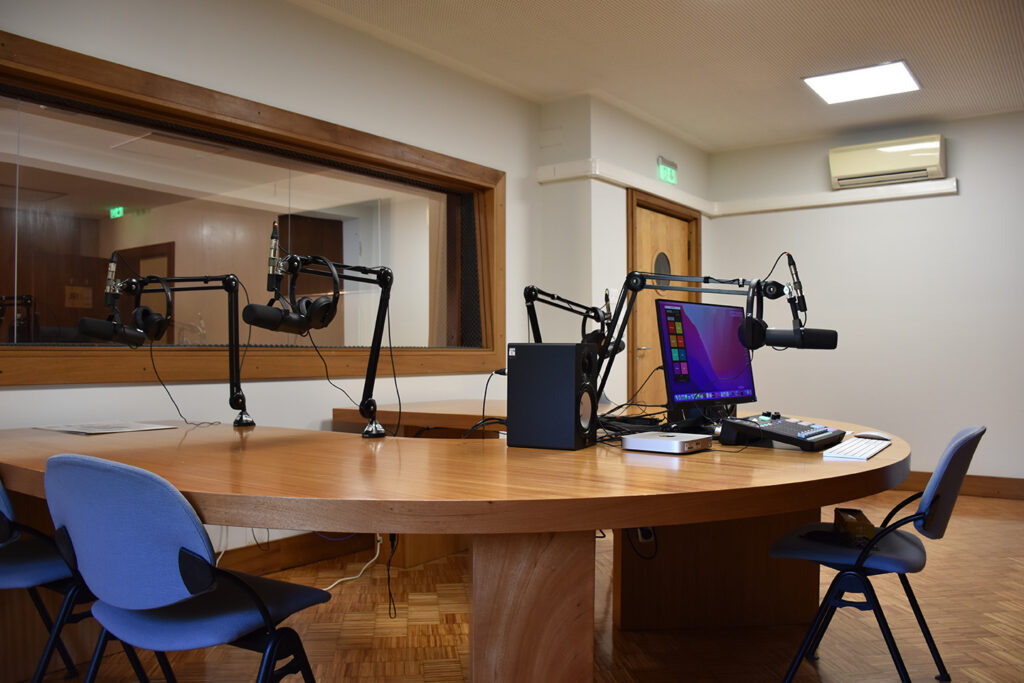
Podcast Studio (source – Ajcosta, CC BY-SA 4.0)
Compression minimizes the volume difference between louder and softer signals, which is great for balancing out the volume fluctuations of someone’s voice, but this also minimizes the volume difference between someone’s voice and the noise floor and room sound. If your room has minimal reflections and noise, you should be able to compress the voice quite a bit and still maintain a good signal-to-noise ratio.
So, for most situations, you want to capture a very dry recording, meaning that you hear mostly the direct signal (the voice) and not the sound of your voice bouncing off of the walls, floor, ceiling, and furniture. If you don’t have an acoustically treated recording space, the best place to start is in a small room that has minimal reflective surfaces. A small bedroom with thick curtains and a rug is going to sound much better than a big living room with hardwood floors. Things like refrigerators, air conditioners, or dishwashers can easily make their way into voice recordings if they’re too close by, even if they are in another room, so use your best judgment to minimize the volume levels of these noise makers in your recording space. It’s also a good idea to position all microphones away from the windows, especially if there is significant outside noise. An unexpected police siren, lawnmower, leaf blower, or your neighbor’s monster truck can sometimes be a headache to clean up in post-production. Even worse, noises like these can disrupt an organic moment. An off-the-cuff joke with impeccable comedic timing, a heartfelt telling of a personal story, or that magical take of a scripted passage are the moments that can make a podcast episode special, so we want to protect them, not have to salvage them. Distracting noises can often be significantly minimized in post-production with some know-how (which we will talk about later), but it will always be at the expense of audio quality, so it’s best to avoid them as much as possible during the recording session.
Microphone, Interface, and DAW Choice for Podcasting
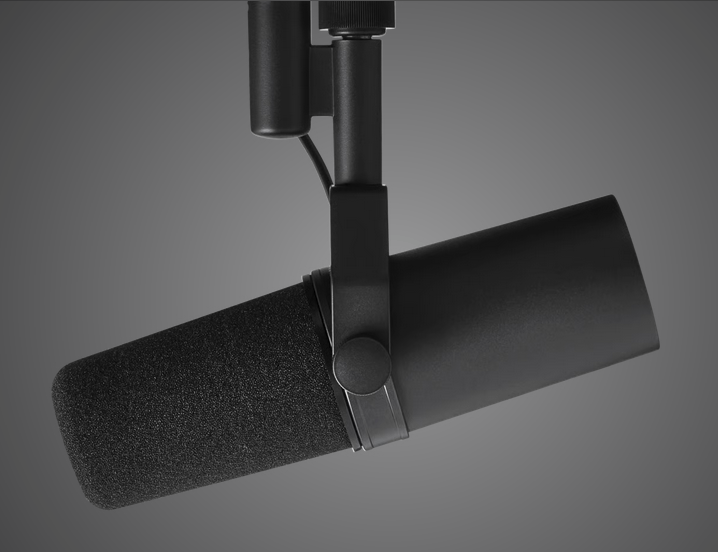
Shure SM7B
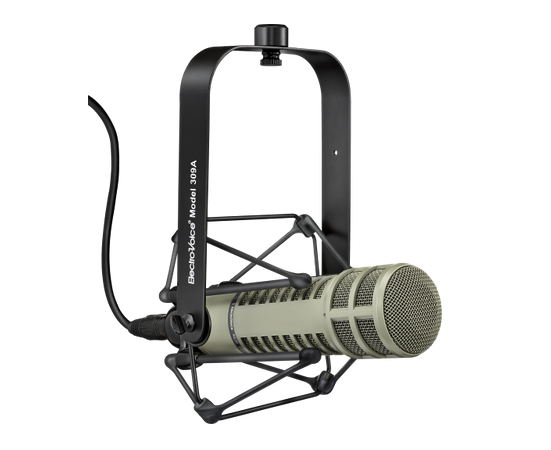
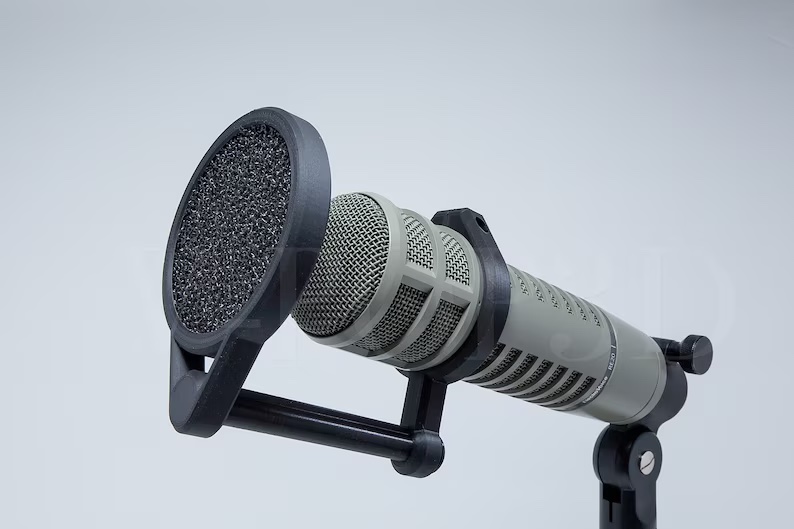
Electro-Voice RE20
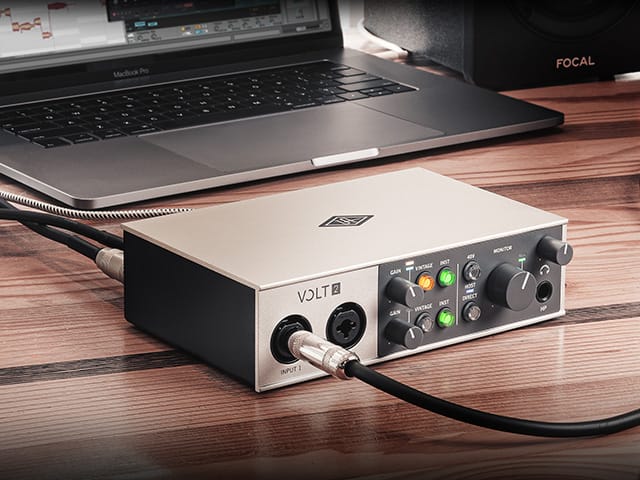
There are countless microphone, interface, and recording software combinations that can work and sound great. Dynamic mics such as a Shure SM7B (or its USB counterpart MV7), Shure SM58, Heil PR-40, and RE20 are all tried and true in podcasting. There are many, many more suitable mics out there. Plugging a good dynamic mic into a simple 2-channel interface like the Focusrite Scarlette 2i2 or Universal Audio Volt 2 is a common setup that can yield professional-sounding results. If you’re using a smartphone or tablet to record 1 voice, something like an iRig Pre 2 can also do the job. USB mics like the Shure MV7 are also fantastic, since you do not need a separate interface to record. I have found USB mics to be slightly more finicky and potentially buggy, occasionally requiring firmware updates, but they can sound quite good. If you have multiple hosts or regularly have guests recording with you in person, it is optimal to use the same make and model microphone for each speaker in order to get a unified sound. This also applies if you and another host are recording from different locations, for example. If everyone is using the same microphone, it is more likely that everyone will sound like they are recording in the same space, whether or not they actually are, and that might be important to you.
UAD Volt 2
If you’re just recording one voice at a time, you do not need a multitrack DAW like Pro Tools, Logic, or Reaper. The Quicktime Audio Player (Mac) or Voice Recorder (PC) that is already installed on your computer will work just fine. These are also solid options for recording remote guests. For recording more than one person at a time, using a multitrack DAW like Pro Tools, or a handheld recorder like a Zoom H5 will allow you to set optimal recording levels for each mic and facilitate more precise mixing and editing in the post-production phase.
Microphone Positioning
I’d argue that mic positioning and the sound of the room are much more important considerations than microphone choice. If you have just one person on mic, and video isn’t being recorded, mic placement is very simple. As long as the microphone is close, about 2-6 inches, and pointed at the speaker’s mouth, you will likely get a very usable sound. Using a pop filter is also highly recommended to minimize plosive sounds, or “p-pops.” Plosives are the low-frequency popping sounds that result from too much air overwhelming the microphone diaphragm when the speaker enunciates a hard consonant. It’s also worth experimenting with positioning the microphone off-axis (meaning at an angle, rather than pointing directly at the person’s mouth) if you are getting too many plosives. These plosives can be managed in post, but again, it’s always best to minimize any unwanted sounds during the recording.
Pop Filter
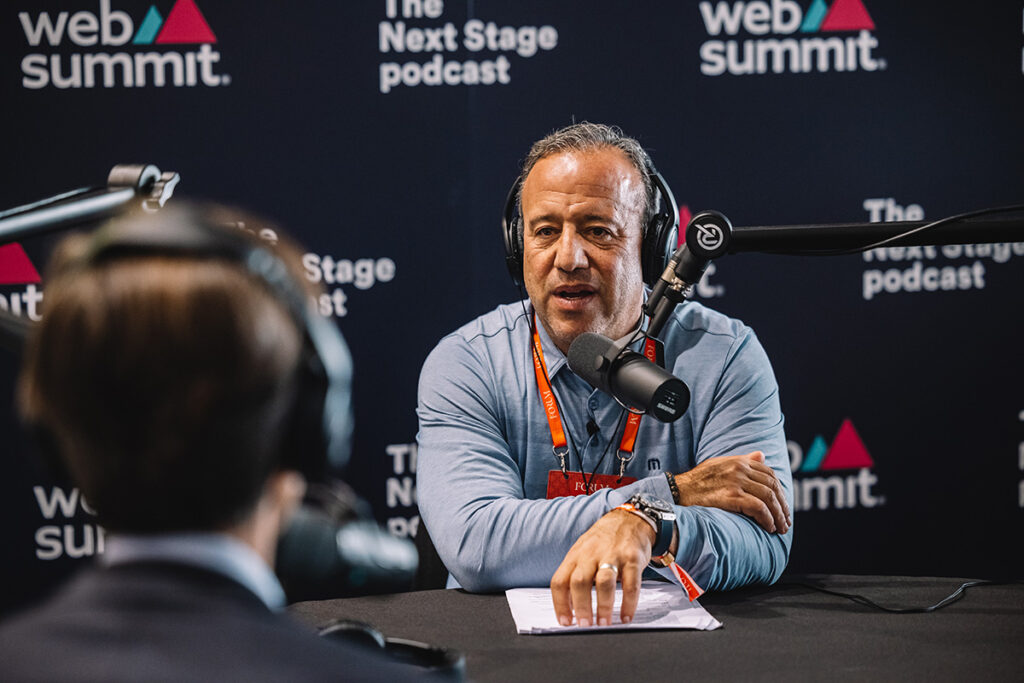
When two or more people are having a conversation in the same room or over something like Zoom, or if video is a component of the podcast, it is usually beneficial to place the microphone slightly underneath and angled up toward the speaker’s mouth. This allows for easy eye contact and a clear shot of someone’s face for video. A bulky mic stand and microphone blocking someone’s face can affect the sense of connection between two people. It also looks unprofessional on video, so placing the microphone in a way that keeps the speaker’s face in view is usually the right move.
Podcast Microphone Positioning (source: Web Summit, CC BY 2.0)
If you have multiple people in the same room speaking, it’s usually best to sit across from each other so that microphones are pointing in opposite directions. This is not a hard and fast rule, but positioning the microphones so there is minimal audio bleed between the two can be helpful, especially if the podcast is going to be heavily edited.
POST-PRODUCTION
Clean It Up!
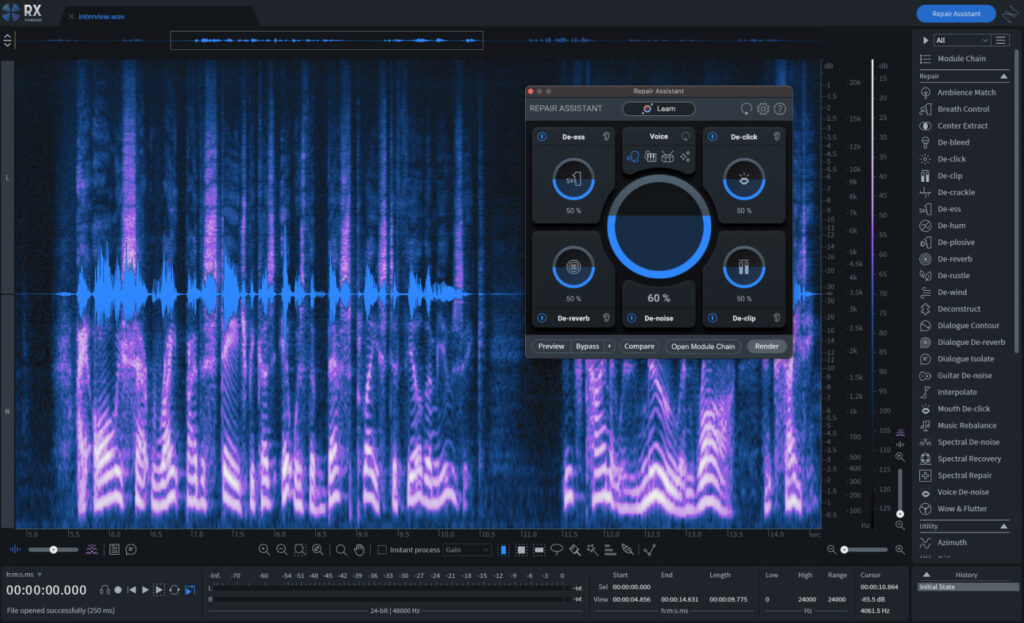
The first step that I always take before mixing (volume balancing, compression, EQ, etc.), is dealing with any noise and room sound. Clean it up first, then make it sound good. There are lots of wonderful noise-reduction plugins available that can make this job a breeze, provided the above best practices are followed. Waves, Accentize, iZotope, and many others make plugins that can help you minimize or remove room tone, errant noises, plosives, mouth clicks and pops, electrical hum, room reflections, you name it…
iZotope RX10
Unfortunately, none of them are better than the others, and their effectiveness is determined by the source recording. For example, I regularly use three different plugins to reduce room reflections (iZotope’s De-Reverb, Accentize’s De-Room Pro, and SPL’s De-Verb). Unless the audio is recorded in a room or studio that I’m familiar with, I never know which one will work best until I try all three. If you know where all or most of your recordings will take place, I would suggest demo-ing a handful of plugins that you might need — try them on test recordings to see which one sounds best for that particular setup. Noise reduction solutions aided by AI, (made by Adobe, Descript, Accentize, etc.) can introduce missing frequency content on poorly recorded audio, or even replace the real voice completely. They can seemingly perform audio cleanup miracles, but can also sound artificial (shocker!) or ultra-processed, so it’s best to proceed with caution with these solutions.
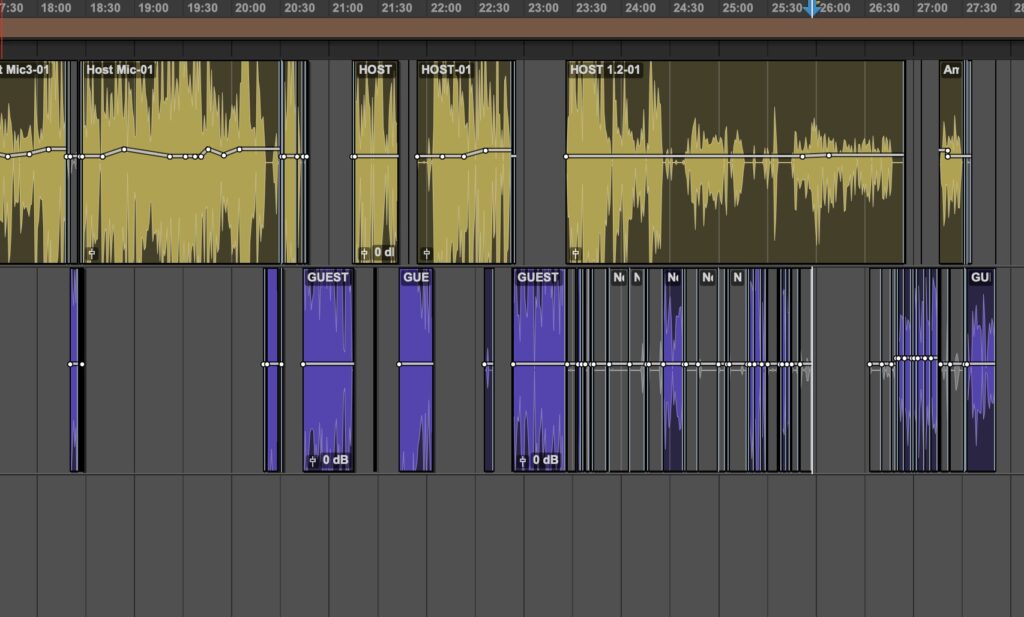
Example of Checkerboard editing
For podcasts with more than one voice, it is common to “checkerboard” the audio between each mic. Checkerboarding means muting or deleting the audio of someone’s mic when they aren’t speaking, resulting in audio files that look a bit like a checkerboard in your DAW. This can help achieve a drier, more professional sound since you will mostly be hearing one microphone at a time. Checkerboarding can get tricky if people are consistently speaking over each other, and can often require judicious volume adjustments and automation to get things sounding natural. Have three boisterous comedians in the same room shouting over each other? Roll up your sleeves and get ready to checkerboard and ride the volume faders like crazy if you want to achieve a tight and dry sound. It’s best to do checkerboarding after you’ve compressed and limited the audio, getting it close to the final output level. Below are some suggestions for getting to that point.
Mixing a Podcast
Now that your audio is cleaned-up, the bread and butter processing that I almost always apply is de-essing to remove sibilance, EQ to remove unwanted frequency content, and compression to even out the dynamic range of the voice recording.
De-Essing (try Fabfilter DS, Waves De-Esser, or your DAWs stock de-Esser):
The de-esser plugin minimizes those harsh “S” and “T” sounds, and will need to be set up differently for each speaker and mic. Generally, the de-esser will tame frequencies between about 4-12kHz, depending on the source. The best way to find the sweet spot is to listen to the sidechain signal. This is the filtered signal that the de-esser is reacting to, and most de-essers will allow you to listen to it. Loop a section of audio that has particularly harsh sibilance while listening to the sidechain signal, then adjust the de-esser so that you can most clearly hear the harshness — that’s the sweet spot. You want to reduce the sibilant moments by about 3-8db. You’ve gone too far on the de-esser if the person speaking starts to sound like they have a lisp.
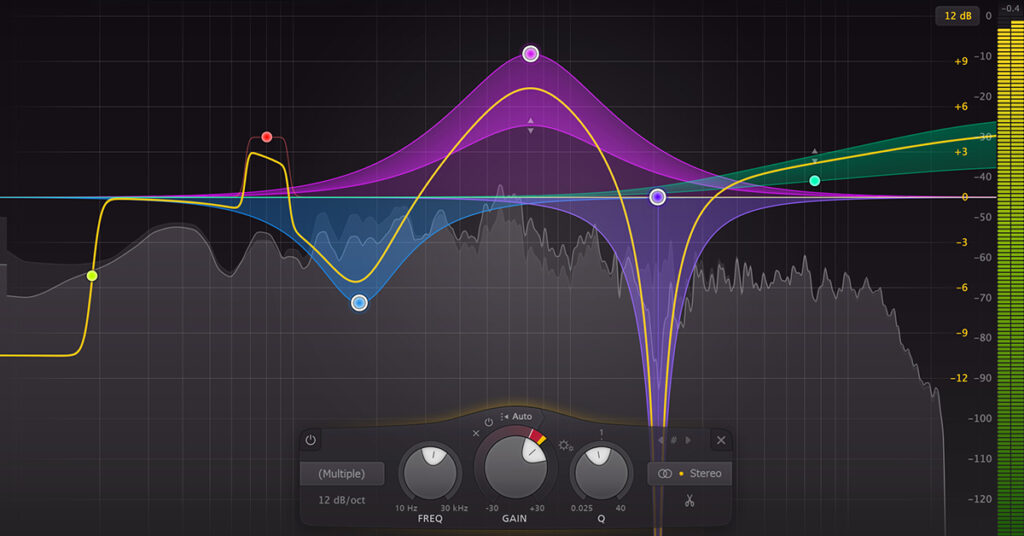
EQ (try your DAWs stock EQ, TDR Nova (which is free!), or Fabfilter Pro Q3):
I regularly highpass around 70Hz, maybe remove some muddiness somewhere between 200-500Hz, and maybe remove some boxiness between 500-800Hz. These cuts usually work best with a slightly narrow Q setting. There are countless articles about best EQ practices, so check some of those out, but at the end of the day, use your ears and adjust accordingly. Most well-recorded sources don’t need much!
FabFilter Pro Q3
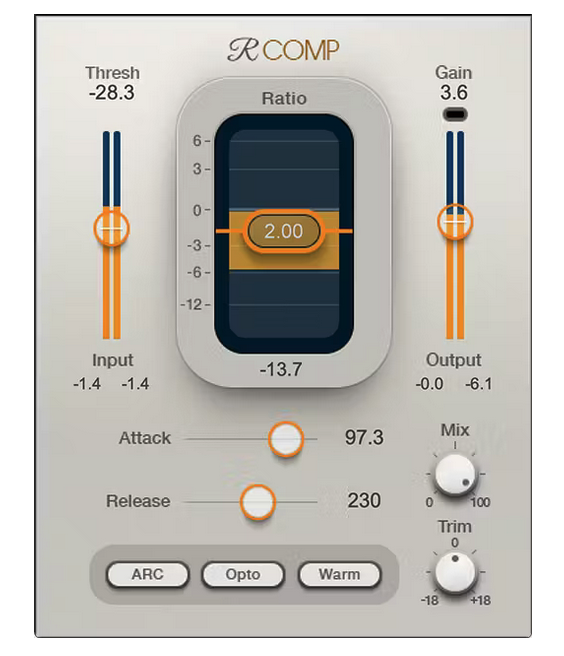
Compression (try your DAWs stock compressor, Waves R-Compressor)
Again, there are many resources on how to set up a compressor, but in general, you don’t want to hear the sound of compression working. For some sources, I will end up compressing multiple times in different stages for a more transparent sound. For example, I might compress each mic, but then feed all of those mics to an aux that is compressing all of the mics. This aux is then fed to a final limiter which is doing a third stage of minimal extra compression.
For a multiple compressor setup try this:
- Compressor 1 (on the audio track) set to only compress the loudest moments, and only reduce about 3-5db of gain at the most. 3:1 ratio, 1-3 ms attack, 150ms release time.
- Compressor 2 (on an Aux or on the audio track) set to gently compress. 1.7 ratio, 20-50ms attack, 200-300ms release. This one should only be reducing the volume by a db or two!
Waves R-Compressor
Limiting and Output Levels
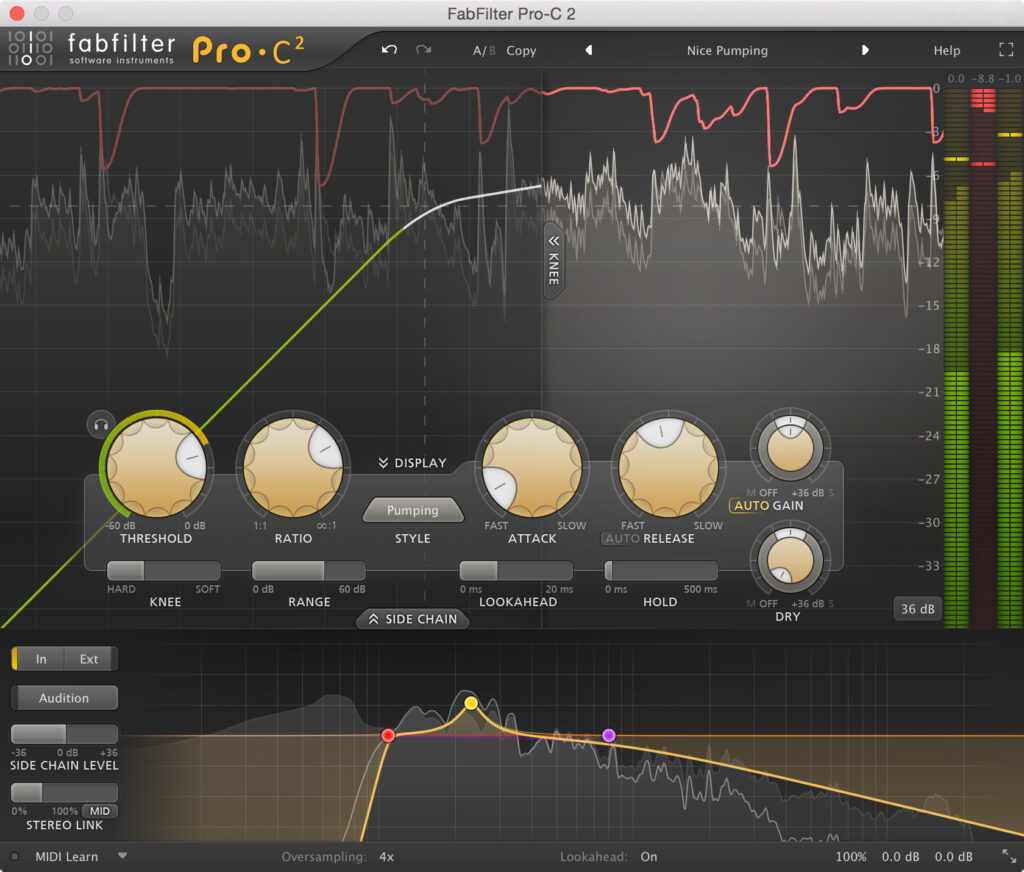
On the master bus, you should always have a limiter that will prevent clipping and also help you achieve your desired output volume. It should be set to only briefly compress the loudest of the loudest moments. You should set the output ceiling between -1.0 and -2.0 db, and crank the threshold down until you reach your desired final output level. It’s important to consider where your audio will be listened to. For a quick rule of thumb, you’ll want to aim for -16 to -13 LUFS as an average level. YouTube and Spotify use -14 LUFS as a standard reference level, and many podcast streaming apps apply volume normalization.
FabFilter Pro C2
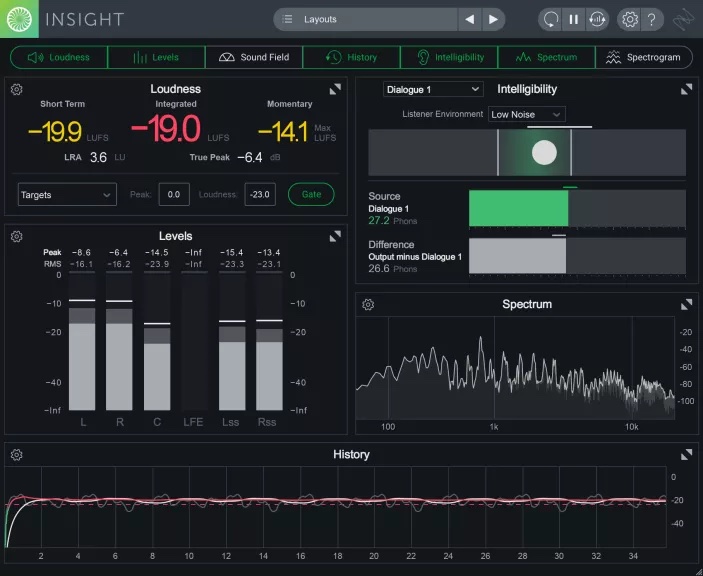
If you want your podcast to be more dynamic, aiming for a lower LUFS measurement might make sense. If it doesn’t need to be dynamic, -15 or -14 LUFS is great to aim for. If you have anything higher or lower than that, you run the risk of your podcast being perceived as too quiet, or possibly not dynamic enough if you’re pushing the volume level up and compressing or limiting too much. I routinely use the Waves WLM Meter and iZotope Insight on my master bus (after the limiter!) for monitoring my levels, and I will typically leave one of these plugins on my screen as I mix to make sure I’m always achieving the output volume that I want.
iZotope Insight 2
In future articles, I will cover mixing for podcasts in more depth, as well as more advanced editing techniques, music implementation, sound design, and immersive audio. Stay tuned!
ABOUT THE AUTHOR
Brendan Byrnes currently works as a Senior Audio Engineer at Sirius XM, engineering and sound designing podcasts such as LeVar Burton Reads, Conan O’Brien Needs a Friend, Sound Detectives, and the Mel Robbins Podcast. He also works as a mix engineer and composer for TV and film in Los Angeles. You can hear his microtonal music and learn more at brendanbyrnes.com
EXTRAS
Assess your knowledge of essential audio concepts using our growing catalog of online Quizzes.
Explore more content available to Subscribers, Academic, and Pro Members on the Member Resources page.
Not a Member yet? Check the Member Benefits page for details. There are FREE, paid, and educational options.

